Showing posts with label Christmas quilts. Show all posts

Wednesday, January 26, 2022

Getting Ready to Fold Up the Holiday Quilts

Christmas Stars is my first finish of the year! Yay! I had a couple other things to post about, but this needed to go on record before January was over and done with. Kinda late for a first finish {for me}, but what can I say? The binding work just didn't seem super exciting compared to some other options.

It looks so cozy!
After a little bit of back and forth about possible colors and shades for the binding, I finally settled on something of a medium green. It took several pieces of similar colors to make up the total length, but I have to say, this was spot on for being the perfect complement.

Christmas Stars is a true blue finish!
I am in LOVE with this quilt. It's one of those that I look at and say, 'Did I really make that? Me?' It just seems so unlike so much of what I do and yet.... it's all there. The simplicity of color repeats, the sawtooth stars in scrappy prints, the flying geese. I've done all of this before. It's really nothing new.

Love the touch of florals in this quilt
One of the things that I've always been so resistant to in Christmassy quilts is how precious the prints often are. I adore that this quilt actually has very minimal true Christmas themed prints. It's all in the colors and feel. It can be a holiday quilt or not.

Flying geese are always a good border idea
So very, very glad that this Basic Grey red fabric was sitting there in the stash waiting for the perfect project. How sad that it didn't work out as the original intent of being a backing fabric. Not! I'm pretty sure this is not something that I would have ever willingly chosen for the overall background fabric in a holiday quilt. Do you see how velvety it looks in the right light though? How could anything else have possibly worked better? Total serendipity to have this on hand when I was in the mood to play. 

Looking ready for serious use!
And the oldie moldy greens that found a good home in the flying geese units?*sigh  This quilt has a super special place in my heart and mind. It will be great fun pulling this one out year after year, I can assure you! And though I promised my younger daughter a Christmas quilt of her own {after her older sister talked me out of a previous one}, these will not be in the offing.

A successful use of all the boring fabrics
The backing ended up looking pretty good after all the quilting texture was added too. So scrappy and utilitarian. Really fills me with the glees to see all these off colored greens hop onto the back of a good quilt and finally be useful. It's about time! I think this is the second backing I've made just from the random green fabrics that seemed too awful to use in the front of a quilt. Why of why did I buy so many of these years and years ago?? Ughh.  The Tired Greens project is definitely helping get fabrics out of the stash totes, but, unfortunately there is more to do...

These are the keepers
And just for fun, I took a picture of these three Christmas quilts together. The primitive-look Festival of Trees finished up in 2010, the quarter log cabin quilt finished up last year and the new Christmas Stars. These three are mine forever, never to be given away. I have found that I quite relish getting out my holiday quilts every year and enjoying them for 6 weeks to 2 months--usually right up to the first of February. The Festival of Trees one has definitely gotten sun faded in that long strip of plaid fabric right in the center of the quilt. It happened in the first two years of use, in the very short window of time I leave it draped over the back of a chair during the holidays. So disappointing, but nothing else seems faded. And now I'm accustomed. Oh well. About time to fold them all up and put them in a darkish cupboard until next December!

Thursday, December 30, 2021

About Ready To Turn the Page To the New Year!

Got the Christmas Stars quilt into the hoop. Finally! I've been running so far behind on where the quilt line-up 'should be' this year that I just wanna shake my head. Not making a lot of progress on plowing through the completed quilt tops 'cuz I'm too busy making new.

Christmas Stars next up in the hoop
No matter. Christmas Day might be behind us, but I'm still very much in the mood to work on a quilt that looks like this. I made a total of four Christmas-look quilt tops within the last year and a half. Just to hand quilt during the holidays! This was one of the first two attempted and probably the most obviously holiday looking.

Almost ready to pin...
Very poor planning for fitting the individual blocks inside the quilting hoop though.*wink  How inefficient is this? Mostly I just get a larger background square into the hoop and then pull off the side clamps whenever they get in the way of stitching on the stars. So annoying to move the hoop every half an hour or so.

Keeping the stitching simple on this one!
And it always feels wonderful to have a true blue, absolutely finished quilt to finish out the year. This one has such a cozy vibe, it could have happily been laying across my lap for another week or two and I wouldn't even have cared. Love all the scrappy feels.
Strippy Triangles is a finish!
It was tricky to get try and get a good pic of the full quilt, so this will have to do. I'm sure it would be soo much better if I managed to get the quilt properly arranged during that 20 minutes of perfect lighting we seem to have this time of year!

Lots and lots of triangles
It took me almost three evenings to finally figure out exactly how those long skinny gray strips were going to have to be hand quilted. I tried vines with leaves, vines with berries, straight lines, and then finally ended up with a double stitched wavy vine without any extras at all. Still wasn't 100% sure until there was several stitched frames to look at. Okay. That should do it!

Hand quilting for the win!
All along I thought the binding would have to be black, but then.... Nope! The quilt wanted red for some reason. Good thing there was enough of the right colors hanging around in the stash totes or this would have had to be delayed for quite awhile. Fabric shopping is not exactly on the priority list right after the holidays, though of course I wish it was. No gift cards for Christmas this year, but I really can't complain. My youngest daughter gifted me with a box of Valdani perle cotton thread.*sigh  I'm so in love.... Would it be silly to design an entire quilt around a variegated thread color?

All ready for cuddling
Also included in this end-of-the-year post is the very last completed quilt top, Crossroads. Once I got the applique out of the way, then it was only a matter of cutting out the sashing strips and finding time to sew the rows.

Just a little underwhelming
As you can see, I was trying to stick fairly close to the antique quilt inspiration this time. Not ever exactly, but hopefully my interpretation rings true for the overall spirit of the quilt! How boring if it was a spitting image! This quilt has been in a couple different books I believe, but where I found it is: 'Quilts. An American Heritage' by Terri Zegart, a book published in 1994. I literally paid a dollar for at a quilt show guild booth a couple years ago. 

Taking another look at the original Inspiration
At first, I was just a little disappointed with the wispy, fade-away look it had {see first picture}. If you remember, I had a little play at this very same inspiration with this previous quilt, and somewhere along the way, the vibe of that particular quilt had went sideways on me too. In that case, I just shrugged and went with it. Basically, I was thinking 'Wow, here we go again! Just cannot seem to get this quilt figured out!'

Playing with border ideas
Since border additions are like my secret little addiction, I almost instantly talked myself into adding a blue/peachy pink triangle border. I mean really, before I even gave it any other serious thought, there I was doing the math and auditioning for the most likely scenario. Then I sorta stepped back from it all and thought, 'What am I doing?' A pieced border was going to blow this whole quilt vibe into a million pieces!

So much better with the subtle-y scrappy but plain border
So I folded the quilt top up and purposefully left it on a slow simmer for awhile. Sometime just before I fell asleep that night {the subconscious can work so fast!}, it occurred to me that maybe, maybe? the quilt might welcome a slightly larger, but definitely darker surround of fabric. Hmmm... And something like that probably wouldn't ruin the lovely feeling the original maker had so successfully ended up with. Of course I wanted to immediately run upstairs and check the idea out, but decided that was a very poor idea. Would probably freak everybody in the house out if mama got busy in the quilt room at 1:30 in the morning...

Ahh.. Surely you can see that this make-do, pieced but plain, border looks so much better already. You'll never believe how ugly the darker, almost dingy peachy pinks {mauve?} looked all by their lonesome! It was almost scary to even properly audition them. But attached to the quilt? They are Beea-utiful! Such a wonderful, lovely complement to the rest of the quilt. So very glad that I hit pause and took a few extra minutes to think it all through.

Still trying to learn what the secret really is!
It's always so exciting when the perfect solution makes itself known and all the cranky quilt problems can just drift away. I totally have a soft spot for these antique quilt interpretations that I've been dabbling with now for several years. I always think that if I can just successfully interpret a few of these fabulously unpretentious quilts {unpack their secrets}, then in some mysterious way, the look/feel/spirit of these quilts will somehow rub off onto mine. I'm earnestly trying because these are the best of best quilts to me. 

Now I'm dreaming up ideas for the cream fabric cut-outs from behind these gold circles. Which absolutely needs to be a series, right? Because there's definitely gonna be a quilt from those cut-out circles next. I mean, why not? Happy Happy New Year to All! We'll probably be having a quiet evening at home this year by ourselves, just me and the husband. Sounds good to me!

Tuesday, December 29, 2020

Wrapping up the Giveaway and A Few Christmas-Look Quilts

The Giveaway for free Autumnal Tulip applique templates is now over and I'm totally caught up! Can you believe that I sent out 86 pdf's in all? Crazy. Definitely underestimated the lure of free applique templates! For those of you who requested a pdf and did not receive one, please email me directly. 

Quarter Triangles for the finish!

Quarter Triangles ended up being the very last finish of the year. I started the quilt with the idea of using up old tired green fabrics sometime last winter.
Loving this backing fabric

Then I found the Christmassy floral languishing in the bottom of a tote and decided the entire thing would be a marvelous Christmas-look throw! I'm never in the mood to work on Christmas quilts until the season so I'm always putting ideas off. Maybe later. And then later usually never comes....

Easy peasy throw quilt

It's not super exciting, but this one makes me happy. The hand quilting went very fast and the binding was found in yet more of those tired old green fabrics. Can't argue with that! I had a little bit of fabric bleed with the reds {I thought they had been properly presoaked!}, but they mostly rinsed out.

This one's mostly about the fabric...

Next up in the hoop is this funky looking quilt that I made based on a U & U quilt. I took the simple, utilitarian look quilt and multiplied the base of the quilt times four. Then I inserted my color palette along with the floral vibe and made it mine.

Love the not-so-perfect circles

I'm not exactly thrilled with the overall look of the quilt, but I do so love the soft, floral vibe to the end product. Having it in my lap for hand quilting just makes my heart melt and I'm charmed that these difficult florals finally found a good home. It's a quirky home, but it still looks and feels right.

And the applique ends up being icing on the cake!

And you'll be shocked and appalled, but I just had to add just a teensy bit of applique after all. The quilt was totally sandwiched and pinned {of course!} when I made the decision to go ahead. Why oh why does that happen to me? Such a difficult time to start adding on applique pieces to a quilt, but now I'm even happier with the quilt. Much, much happier. I guess it was meant to be!

Another Christmas quilt in the works

And then there's this quilt that has finally progressed enough to actually mention it here on the blog. It's another one that I cut out last December in the hopes that it would end up being another Christmas-look quilt. I've been piddling around with it off and on all during the month of December, but it's been very slow go. All the fabric is oldy moldy stuff that somehow ends up looking perfectly fine in this holiday themed quilt. Right? This particular quilt block has been on my bucket list for probably well over 15 years and I thought, why not? 

My seams are not perfect by any stretch of the imagination so I will probably end up sewing the blocks together with a very thin sashing. In my mind I'm thinking a plaid would be good, but we'll have to see what's hanging out in the stash totes. Not planning on spending any extra money on this one. Nine blocks are done out of sixteen! Might actually have a another quilt top done before the years end....


Monday, December 7, 2020

A Surge of Productivity

So nice to finally have Dried Flowers completely finished! This one was started in July of 2018 and has always felt like a sweet little gem of a quilt. I love when a quilt starts out with a whisper and then gradually morphs into something so much greater than the initial seed of inspiration!

Dried Flowers is completed!

This one originated from a thorough deep-dive through the orphan totes one day when the lure of working with cut-out-from-the-backs-of-other-applique seemed especially enticing. At that moment, all I really wanted was something quick and easy to start stitching on.

Looking across the quilt

Once in awhile I don't bother to draft out a full quilt idea and just plunge straight into the making of blocks. For this one, I first layered the circles and then later, decided what to do with the flower 'body'. The colors to this quilt were chosen on the fly, all very much based on those original circles and what might emphasize them to the greatest degree.

The full effect

After that, the whole quilt just sort of fell into place piece by piece as was needed to properly move on.  The strings were decided on because I love cutting/sewing improv. strings and I felt they would be a good relief block to the formality of the flowers. It also gave me opportunity to further play with some old, tired fabrics, something that {surprisingly} continues to be of interest to me even still today. The decision to make the applique rows pointed instead of just chopping them off at the same width as the rest of the quilt was partly a coping strategy and partly true serendipity! How could I ever have imagined the totality of this quilt in my head before starting to see the pieces emerge right in front of me?

Why don't I applique interesting leaves
more often?

I personally adore the stringy improv. blocks alternating with the sweet pea look to the flower blocks. It comes together as very quiet and soothing looking, with pops of what I like to call  pure deliciousness! Add in the hand quilting and the texture jumped up to a whole 'nother level. Love it!

Can't get enough of these flowers...

In case you had any doubts whatsoever, I am seriously thrilled with the end result of Dried Flowers. It feels like a good me quilt and I'm so very glad for impulsively deciding to start stitching those circles together on that day!

Hoping it looks sweet and girly enough!

In a spontaneous surge of productiveness, I also cut out, sewed and machine quilted a basic looking quilt for the brand new great-niece. Honestly, I was scared to wait until later in December as it might never get finished! The Fons & Porter 60 degree pyramid triangle has been lurking in my drawer for years and this seemed like a great way to test it out. I have had ideas for making another quilt with that same ruler but somehow never have managed to make the first cut.

Lovely to use up some of these fabrics

This entire quilt would have looked loads better if I had taken the time to cut smaller triangles for just a few of those solid triangles. {Hanging my head with chagrin just a tiny little bit.} Wouldn't it have given it lovely depth? Alas, this was one of those quilts where the saying 'done is better than perfect' kept looping through my brain. Best to whip it out and get it gifted. Expending too much of my precious creative time on something that only has to look 'cute and girly' doesn't sound like a real winner in the long run. I have important quilts to work on!*wink

Baby quilt for the new niece

Did you see the periwinkle fabric that I ended up including in the baby quilt just because? It's been hanging out in the stash totes for a million years and never, ever plays nicely with any other fabrics.  And you know me, just because I was in a tearing hurry doesn't mean there's not sufficient time for a wee little personal challenge...

Quarter Triangles quilt

And here you go for those that keep track, the 'Next Up In The Hoop' quilt is this Christmassy Quarter Triangles one. I totally forgot to take a picture of it until the top was sandwiched and pinned, about to be folded up in the quilt bag. The top was finished up in January of this year after I went on a Christmas quilt top sewing binge. This particular quilt top was also a So-Tired green fabrics challenge to myself. Lots of oldie moldies got whacked up and included in the mix for this particular making! The other quilt top is prettier, but this is the one that felt perfect for sliding into the hoop and burning through for a quick finish. Yes, I could definitely have tried to machine quilt this quilt without ruining anything about it, even with my paltry skills. The thing is, I need uncomplicated right now for the hoop business. Pick it up, settle into stitching and not THINK. Sounds like my happy place right about now!


Friday, January 10, 2020

Christmas Quilt Tops Are Now Completed

So I feel pretty good about these two Christmas quilt tops. Yeah, yeah, the holidays are over. I get that. But in my world, finishing these two tops now means I'm that much closer to having completed Christmas quilts by next season. Yay!
Christmas Stars a completed quilt top!
This background fabric was the only red fabric that I had any serious yardage of and truly, I had my doubts about how well it would work. Normally I would choose out a cheery red for a holiday look and this is more of a tomato red with, if you look closely, a gray smudgy texture to it. Nevertheless, I plowed ahead, being picky about the star fabrics, and ended up with something I really love. This particular fabric {a Basic Grey fabric I had bought on clearance for the backing of another quilt}, surprisingly ended up giving this quilt a wonderful velvety look. How cool that my 'make-do' choice successfully amped up the holiday vibe too. Could never have planned it so well!
Approx. 67" x 80 1/2"
As you know, I had also challenged myself to include some of those older, less promising greens in the quilts too.  These greens did not look very attractive directly next to the background red, but in a loosely stacked grouping of fabrics looked just fine. Ughh. What to do? Telling myself, 'This will work! Cross your fingers, this IS going to work', I went ahead and cut out the flying geese for the border regardless of any internal misgivings.
Flying Geese border
Piecing the flying geese only further deepened my suspicions that the borders were going to be a total waste of time, a disaster in the making. The colors were just too cringy together and what in the world was I thinking??  But you know me, never give up! And later I was so very happy with that optimism. This border really adds to the depth of this particular quilt. If I had given in to all the doubt and went with perfectly matched greens, the quilt would have looked sweet, perhaps?, but very, very dull. This way, it has a great spark.*whew!
Happy with the Christmas look to this one!
Looking at the inspiration picture below {an antique quilt shown in the June 2011 American Patchwork and Quilting magazine}, you can probably see why I first thought that the lighter greens could potentially work for the pieced border. While the original maker used more of a khaki color, all that is required really, would be a color that would sharply contrast with the red background without competing with the much more interesting star center of the quilt. A rich mustard color might work too, it's hard to say. What I do know NOW, is that overly matching colors in the border would have blended a little too well with the inside stars and thus reduced the impact of that wonderful 'framing'. Something to think about if you're wanting to make this quilt for yourself! Basic directions for fabric/ cutting are at the end of this post. *Not included in those directions are the outside red border lengths, of which I'm sure many of you can determine sizing according to personal taste.
Christmas Stars inspiration pic
The second Christmas quilt is a very simple design. The inspiration came after combing through my Pinterest boards in search of something super easy. The design maybe doesn't present quite as sharp looking, sewn in printed fabrics instead of the solids in the original, but it perfectly suited my needs.
The 2nd Christmas quilt
Between the flying geese border in the previous quilt, these 6" hourglass blocks, and a pieced backing, I am making very good progress with using up many of these old fabrics. With the flying geese, all the greens used ended up being light green to very light greens, with the exception of the darker star tips. The greens in these hourglass blocks are a slightly stronger value mix as I thought this quilt needed the interest more. The goal being to get rid of this particular range of colors in the stash totes, in each quilt made, the selection was purposefully limited. I cut till each individual fabric was exhausted, before moving on to the next. All scraps were then dumped into the scrap bin where they may or may not be used some day in the future. We'll cross that bridge when we get there!
Lots of older, tired green fabrics used
As you can see, several green fabrics feature pink flowers. Why toss them? I'm never afraid to blend pink and red in any quilt and in fact, love the surprise of an unexpected fabric choice in scrap quilts. I will say that I was a little dubious about the need for a completely different colored border, but went with it because the theme for this was supposed to be 'Christmas'. Adding red should make that a little more obvious. Okey dokey! Whatever the quilt needs!

As it turned out, adding the red makes all the difference in the world as to how interesting this quilt looks. Why, you ask? Well, before the border addition, the green and cream acted a bit bland. Now the contrasting red gives the lighter greens an excuse to perk up significantly against the creamy white background. It just looks more playful. It's really hard to describe, but trust me. That's exactly what happened. With the bold Christmas floral that will be used for the backing, I'm thrilled with the overall holiday vibe this quilt exudes, albeit in a very serene way! And so easy to make. Do not regret this squirrel at all!
A make-do pieced border
If you look at the border in the picture above, you can see that I had to piece the red border with different fabrics. I loved this leftover red/brown polka dot print, but did not have nearly enough. No worries. We'll make it work! And for a seasonal holiday throw quilt, who really cares?
Approx. 55" x 61"
Sewing together hourglass blocks is not my favorite thing to do in the world, so much bunching at the seam in the center. It's been years since I made anything similar, but this time I remembered to iron by picking the iron up and then setting it back down, not attempting to maul the quilt into submission. Mostly it went fine, but any and all rumples are absolutely maker 'error'!
Very sweet looking quilt....
So that wraps up the two main Christmas quilts I started during the first part of December. Because the design was already predetermined, the work went very quickly. So glad to put them behind me and move on to other projects, but even more, I'm absolutely delighted to have found a good use for these older, tired looking fabrics. It's looking like a positive challenge so far, but I'm expecting to get bogged down at some point. Probably when I have to address the orange fabrics! Ha! Don't even want to go there!

Two more quilts are cut out that could possibly be used during the holiday season, but I don't consider them exclusively 'Christmas' quilts. That should make them easy to work on moving forward. They too have a little bit of these 'So Tired' fabrics, but unfortunately not enough to make a huge difference to the stack. As I have said before though, there's no point in making ugly quilts just to feel good about being frugal and in fact, I have completely tossed two completely worthless fabrics. Not even good enough for backing! It's been a very good time for working to 'finish up' projects. This time of year definitely tends to bring that out in me. There's a couple other projects that have been languishing for entirely too long and maybe now is the time to get them out of the way as well? We'll see how long the energy lasts. Linking up to Wendy's Peacock Party.

Tuesday, December 24, 2019

Tis The Season!

Merry Christmas and Happy Holidays to everyone! We have the sugar cookies and caramel corn taken care of and now, it's time to start baking the pies. Don't you just love tradition?
Making sugar cookies
All my packages have arrived except one and thankfully it was just a few stocking stuffers. Out here in rural America, the package arrival dates can be less than as promised. In whatever spare time that I could find, I've been working on the Christmas Stars quilt.
Christmas Stars
All that's left to do is a pieced border of flying geese, which is already cut out. Loving the look of this simple quilt so much. Very 'country living' and cozy looking which is really all that I'm wanting it to be right now.
A closer look
Why oh why haven't I made more holiday quilts in years past? You're going to laugh, but I've cut out two more. They are very simple and nothing that screams cheesy Christmas. Some year I intend to have enough to put on all the beds during the season. A girl can dream!

The quilters who have posted these sorts of pictures this month have made me sigh with envy. Apparently it's time to join the party! Even if I run out of fun sewing these together this year, I will have them prepped and ready to work on when the holiday cycles around once again. Like I mentioned before, I'm never in the mood to work on Christmas quilts until Christmas! Though I intend to work on them a bit leading up to New Years, I sincerely doubt the momentum will hold for much longer. Again with the best wishes for a wonderful holiday, however it is that you spend your time!

*Update for those who are curious about the pattern. This quilt is based on a picture of an antique quilt I saw in the June 2011 American Patchwork & Quilting magazine. It has been in my inspiration binders for years! Super easy to make up your own version.

Make 20-9" {finished} Sawtooth Square blocks. For each block cut out:

  • 1--5 3/4" square of background fabric. Cut on diagonal and then crosscut again making 4 triangles total
  • 4--2 3/4" squares of background fabric
  • 4--3 1/8" squares of star tip fabric. Cut on diagonal once
  • 1--5" squares of star center fabric
Sew together blocks according to normal Sawtooth Star directions. Might have to trim slightly.

Cut red fabric for adjoining red squares and setting triangles:

  • Cut 12--9 1/2" squares of red fabric
  • Cut 4--14" squares of red fabric. Cut on diagonal and then crosscut again. Will use 14 of these triangles
  • Cut 2--7 1/4" squares of red fabric. Cut on diagonal
Cut pieces for flying geese border:
  • Cut 27--5 3/4" squares of red fabric for inside flying geese units. Cut on diagonal and then crosscut again.
  • Cut 108--3 1/8" squares of green fabric for flying geese points. Cut on diagonal once
Have not tested the flying geese units to see if they actually will fit properly, but according to the math there should be 22 flying geese at the top of the quilt {flying sideways} and 28 along the side {flying in the vertical orientation}, plus two more at each of the corners flying vertically as well.

Good luck! 

Monday, December 9, 2019

Needing a Creative Lift

This past weekend was a rare, quiet pocket of time for us. I took full advantage and was able to get this #AHIQFlowers challenge quilt up on the wall. If you look closely, it's obvious that the left side is mostly sewn together while the right side is still in a state of flux. And yes, some of it is pinned well above the design wall. We do what we have to do, don't we?
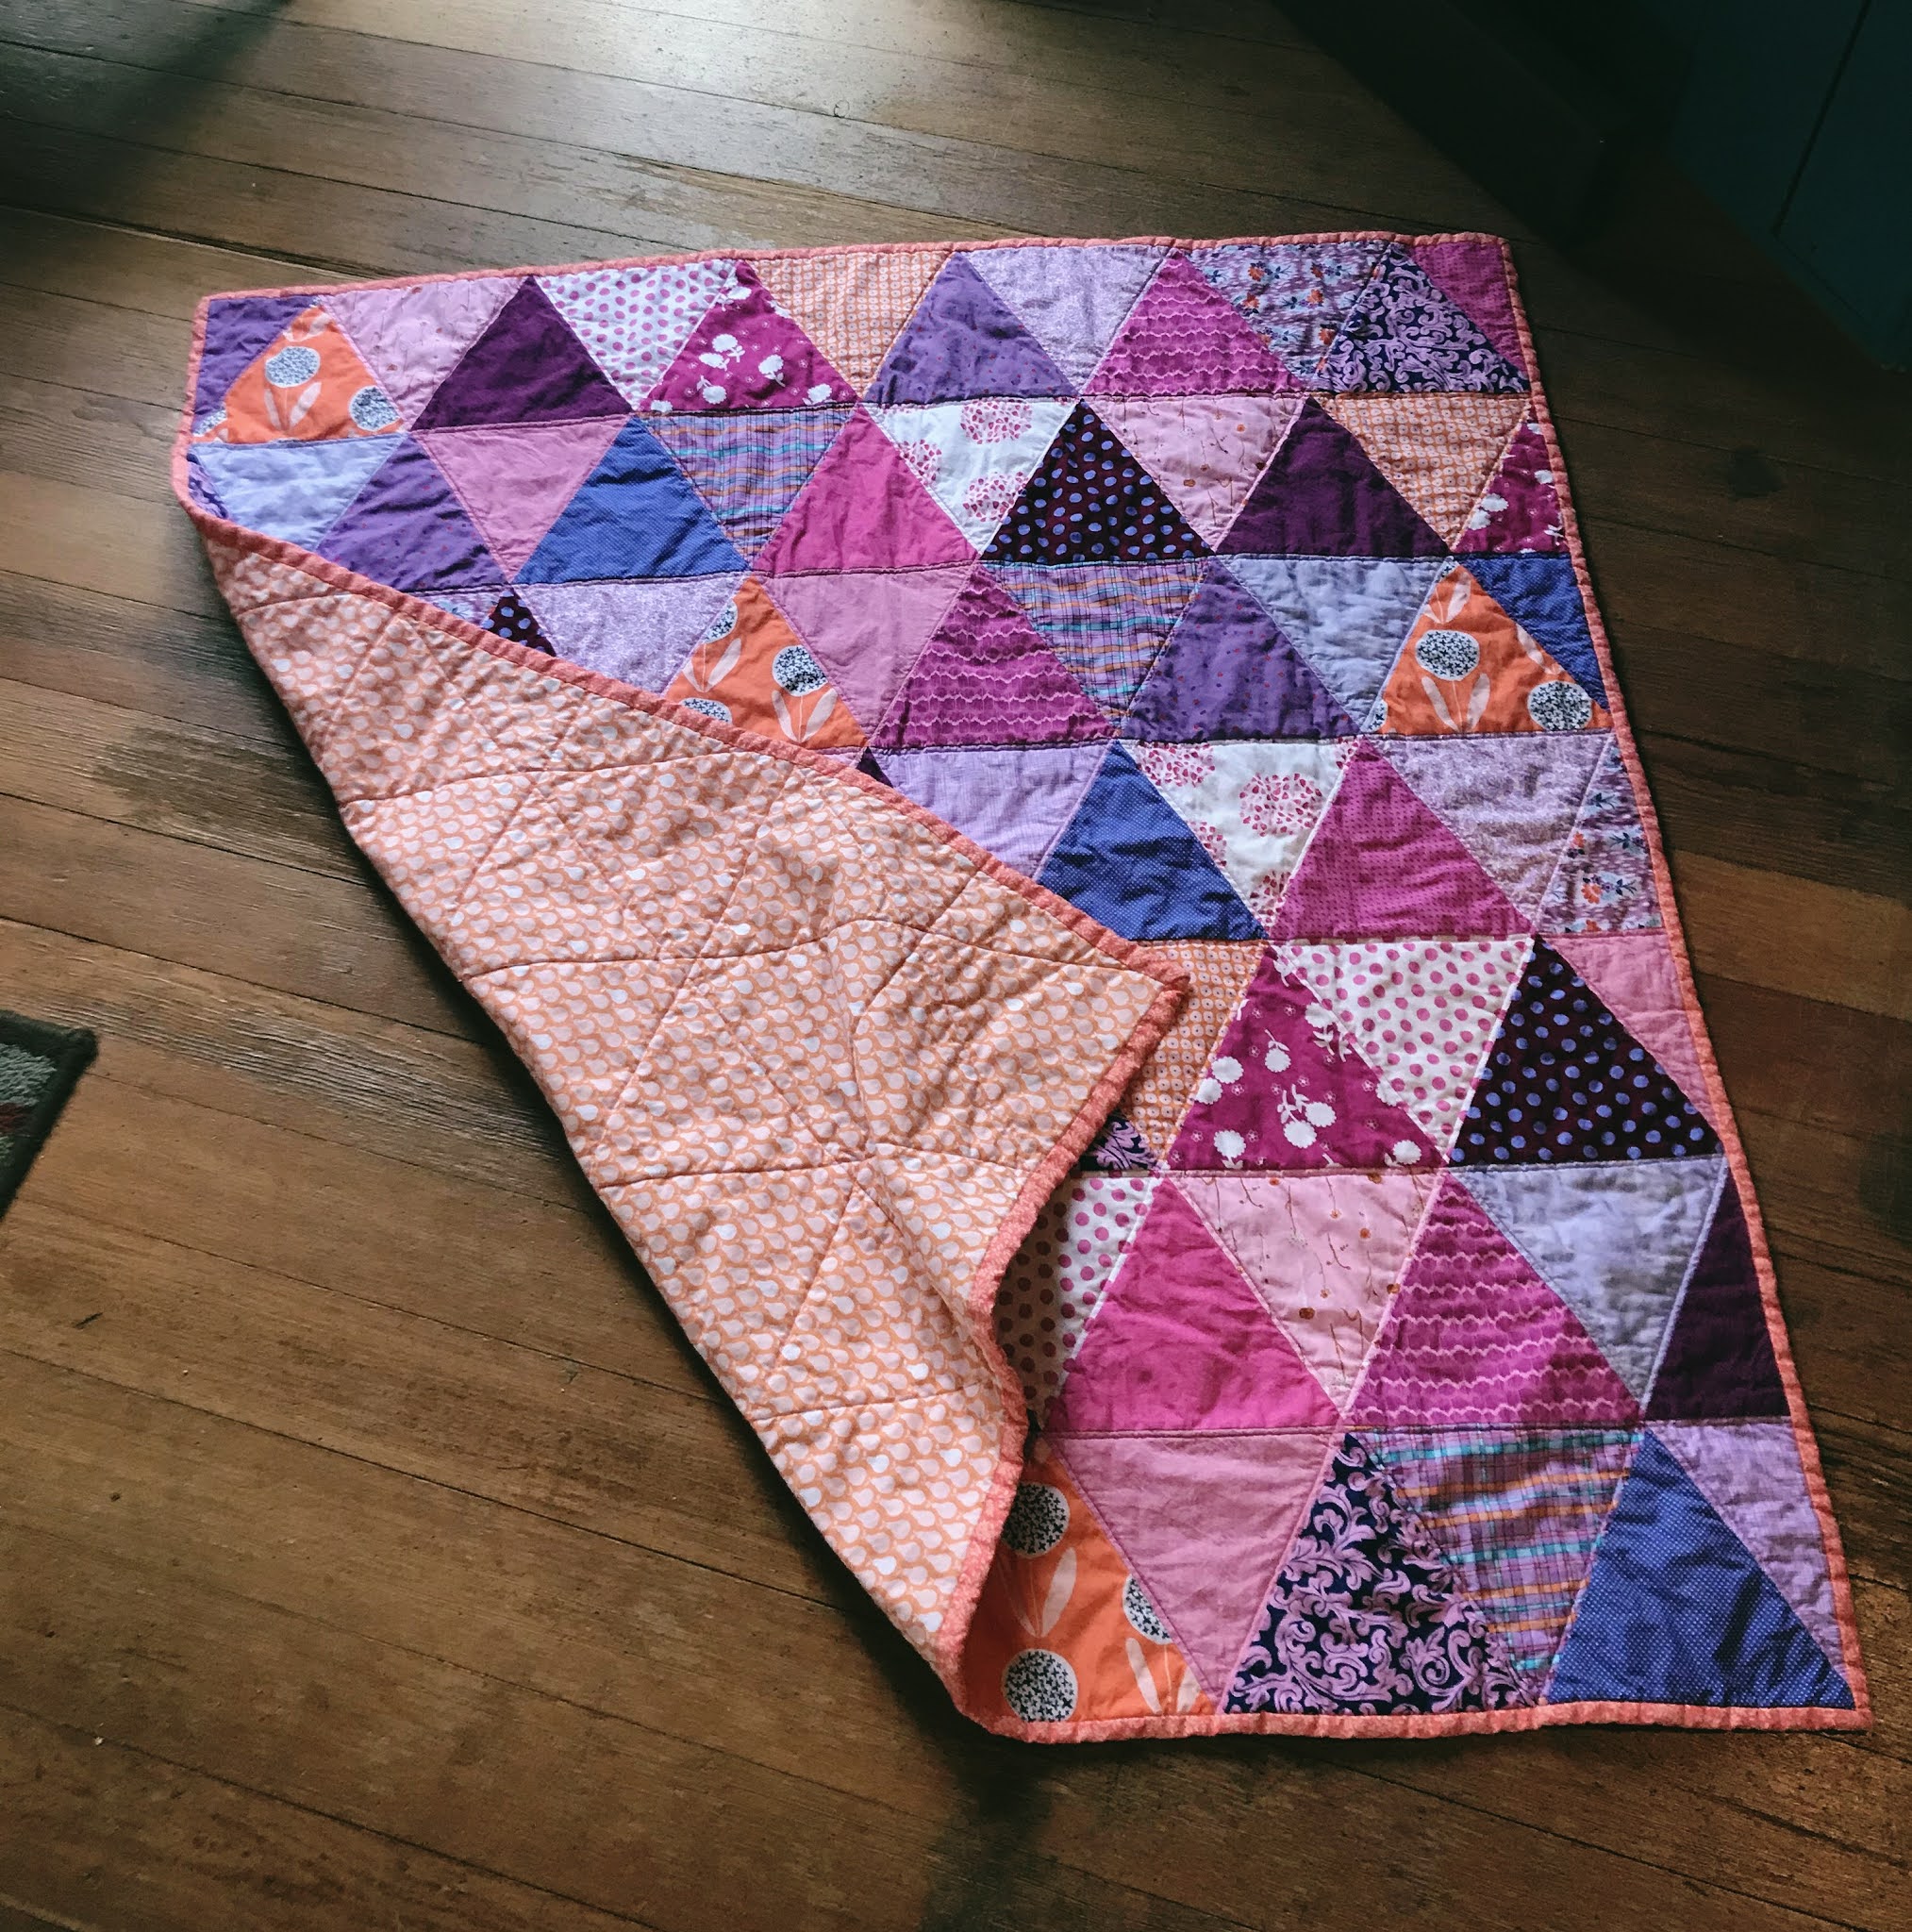
U&U quilt interpretation for #UHIQFlower challenge
I've been craving a good boost from creativity time, so it felt absolutely wonderful to piddle around on such an oddball, no-pressure sort of project. In the lower right corner there is an empty space where 'the flower' should end up. Normally I've tended to work on one long strip at a time, but at this point in the quilt, I thought it best to look ahead and plan out/balance the colors in advance. For comparison to the inspiration, I posted a pic back in August at the end of this post.

Parts of the design {can we seriously call this quilt 'intentionally designed?'}, are driving me crazy and so I'm ditching those particular areas. Skimming over them or just cleaning them up a bit. It's mostly the areas that look super chaotic and don't even make sense to re-create. It's my quilt so I can do that! It's at a point now where I want to leave it on the wall for a day or two before sewing. There's something that feels out of whack but I'm not sure exactly what needs to change in the mock-up.
Only two more new starts....
Lately I've been thinking longingly about the potential of having, literally, stacks of Christmas quilts, but that would be absolutely absurd, even for a prolific quilter. Right? So instead I decided to just make two--to go along with my other two sorta, kinda Winter/Christmas quilts that get pulled out during the season. It's pretty insane timing and who knows how far I'll actually get. The fabrics for the first one, based on the spotty quilt in the 'Unconventional & Unexpected' book pictured above, having been stacked up and hanging around for well over a year.
Definitely gonna add some green after the blocks are sewn
The problem is, I'm never in the mood to make Christmas quilts until December {if then}, and then there's even more crazy going on than normal. At the same time that these thoughts have been swirling around in my brain, I've also been thinking deep thoughts about those pesky oldish quilting fabrics which seem to want to swallow my stash whole. In an impulsive moment I dug through the green totes and pulled out three different, very tired stacks of green fabrics. They definitely need to be used up or just go away. I am so very weary of seeing some of these float around unused and unloved. For the first pile, I gleefully challenged myself to incorporate them into a Christmas quilt, which, yep! Is very good timing. See? Just have to work the angles and then we can easily convince ourselves any brand new start is a fabulous idea!
Already prewashed and soaked the reds!
But first! I made myself cross something off the list. I do have a tiny bit of discipline in this freewheeling quilty world of mine, believe it or not. The Roman Stripes quilt was started back in September as a result of a problematic stack of fabrics that was giving me troubles getting off the ground. It seemed to demand a complicated quilt pattern, but then could never quite gain any traction. Finally, I used a free Sharon Holland pattern {unfortunately not available any longer}, put out while she was promoting her latest book.
Uh oh, getting a lot of quilt tops on the to-be-quilted list!
I had thought to use it in a baby quilt and then couldn't get her instructions to cooperate with the way that I tend to buy fabric. Oh yeah. Same problem with making the throw quilt. But I didn't let it stop me, just kept cutting fabrics and making sure there were plenty of 'pairings'.
The smaller Roman Stripe quilt
Which led to enough blocks for two quilts! They are both the same length {76 1/2"}, but the first one, above, is only 59" wide while the second one, pictured below with an extra vertical row, is 66 1/2". It's really hard sometimes to make these quick scrappy-look quilts with fatquarters {the most frequent size of fabric I buy}. Instead of agonizing about it or trying to determine which fabrics would work better, I just made more sets and determined to work it out later.
This one is wider
There's something about this 'coins' pattern that really intrigues me. It's all very formal, yet the way that Sharon encouraged a light/dark fabric pairings, it has a wonderful flow to the stripes. I especially like the repetitive stacks of like fabrics with the occasional scrappy 'make-do' element mixed from using smaller pieces of fabrics. See? Nothing wrong with adapting a pattern to fit what you have available!
Loved adding the easy borders to wrap it all up
One thing that I've been wondering about lately is whether strips are pre-cut or free-cut, is there always going to be a certain amount of seams coming lose at the edges or long lengths of the quilt top? I thought it was mostly a free-cut strip issue, but no. Anytime there are lengths sewn and then cut or trimmed later, I'll have to go back here when joining the long rows and re-sew random seams starting to come loose. This is something I had forgotten. It's just part of quilting because even when you back stitch, if the fabric ends up being cut in the middle of the lengths, there goes the reinforcement. Ughh! Oh how it annoys me! But now maybe I won't isolate it to free-cut, improv. sewing and let it hinder me from new starts. There's just something about wonky strip sets that make my heart go pitter patter but I was starting to get a little resentful of the extra time that it takes to clean up those coming-loose seams.
So happy with these fabrics!
I'm not at all sorry to have two of these quilt tops {instead of one} as they should make wonderful comfort type quilts for friends in need of a quick pick-me-up. The colors are just that warm looking, with a cozy and comforting  vibe that should only improv. with quilting texture. So glad I didn't throw these fabrics back in the stash totes! It's good to have a couple comfort quilts out in front of me for once, and not have to be all in a rush one day throwing something together!
Kinda boring to sew together, but great fun seeing the top finished!
Now I'm thinking about making some quick little Barbie quilts for my granddaughter and possibly a doll quilt or two for the nieces. I really, really hate last minute DIY Christmas gifts, but sometimes with quilting, it's just pure fun to sew these little bitties. Especially when there's no expectation whatsoever. I think the first place I'll look is in the orphan block totes. Doesn't that sound fun? lol