It's improv. time of the month again! I have three projects in the works,
one of which I showed progress on the other day. It's down to the applique border work for my Improv. Big Basket quilt {made out of strings} and the quilt top probably won't be done till next month. Then I have this wonderful Patchwork Doodle I started back in
January {pictured below}.
 |
| Starting Patchwork Doodle |
It's Sherri Lynn Wood's Score #4 in the Improv. Handbook. A total departure for me color-wise and a complete
mind puzzle as well. Sherri recommends improv. piecing various 'rows' of similar blocks and then starting a conversation from there. From everything I've found online {and in the book}, most people start breaking the quilt down from the row layout almost immediately. Other than sewing my two skinny purple and light green rectangle rows together {hiding in the middle behind the funky circle blocks} and then chopping them into bits, I'm still sticking with that initial row presentation thus far.
 |
| Starting to find a connection |
After I sewed those new bits into longer, narrow columns, then I sandwiched them right between the circle blocks. It's a little more contemporary of a look than I am usually drawn too, but I like how they suddenly give those really skinny dark red strips at the top and bottom of the quilt something to resonate with. Thinking the quilt needed more orange, I found a leftover long strip of orange/white check fabric and then after putting it on the wall, thought, hmm... maybe if I sew some half square triangle blocks? And yep, that was the thing that finally got me feeling a personal connection to the quilt. Me and checks. Checks and me. It's just meant to be! Before that I was not feeling much love, honestly...
But then I had to play with whether or not the hst's needed to be at the top and bottom of the circles and/or if they looked better with a break between? Things like that. And also, it was after the hst's made an appearance that I could have {possibly} been found digging through my applique parts and pieces tote for bits of applique to test out. Something that just sort of happens by spontaneous combustion occasionally around here....
 |
| Decisions, decisions..... |
Loving the quarter log cabin blocks lurking about the edge of the quilt {probably more than any other element in the entire quilt}, I decided to cut a million strips and make many, many more log cabin blocks. Definitely enough to surround the whole quilt. The rich, saturated look of those blocks seem very
needful at this point in the quilts progression. That super, light green background fabric really plays havoc with whole tone of the quilt, plus I'm just not accustomed to working with these particular shades of yellow!
 |
| Loving these strips! |
Ahh.. comfort zone, where art thou? And of course, I completely went beyond my design wall and had to start pinning finished blocks straight to the hard-as-a-rock sheetrock. Which by the way, is not as easy as it looks. The paint must be made of ceramic or something. I have
got to do something about that wall before I lose my mind.
 |
| And now I can see the quilt potential more fully... |
Anyway, with some strategic cutting and sewing yesterday, I was able to get the middle portion of the quilt ready for applique work. Next up will just be a matter of sewing the rows together and making it all fit together properly. Always fun stuff working with the larger units, but I have a floor and a kitchen table. lol
 |
| Ready for applique... |
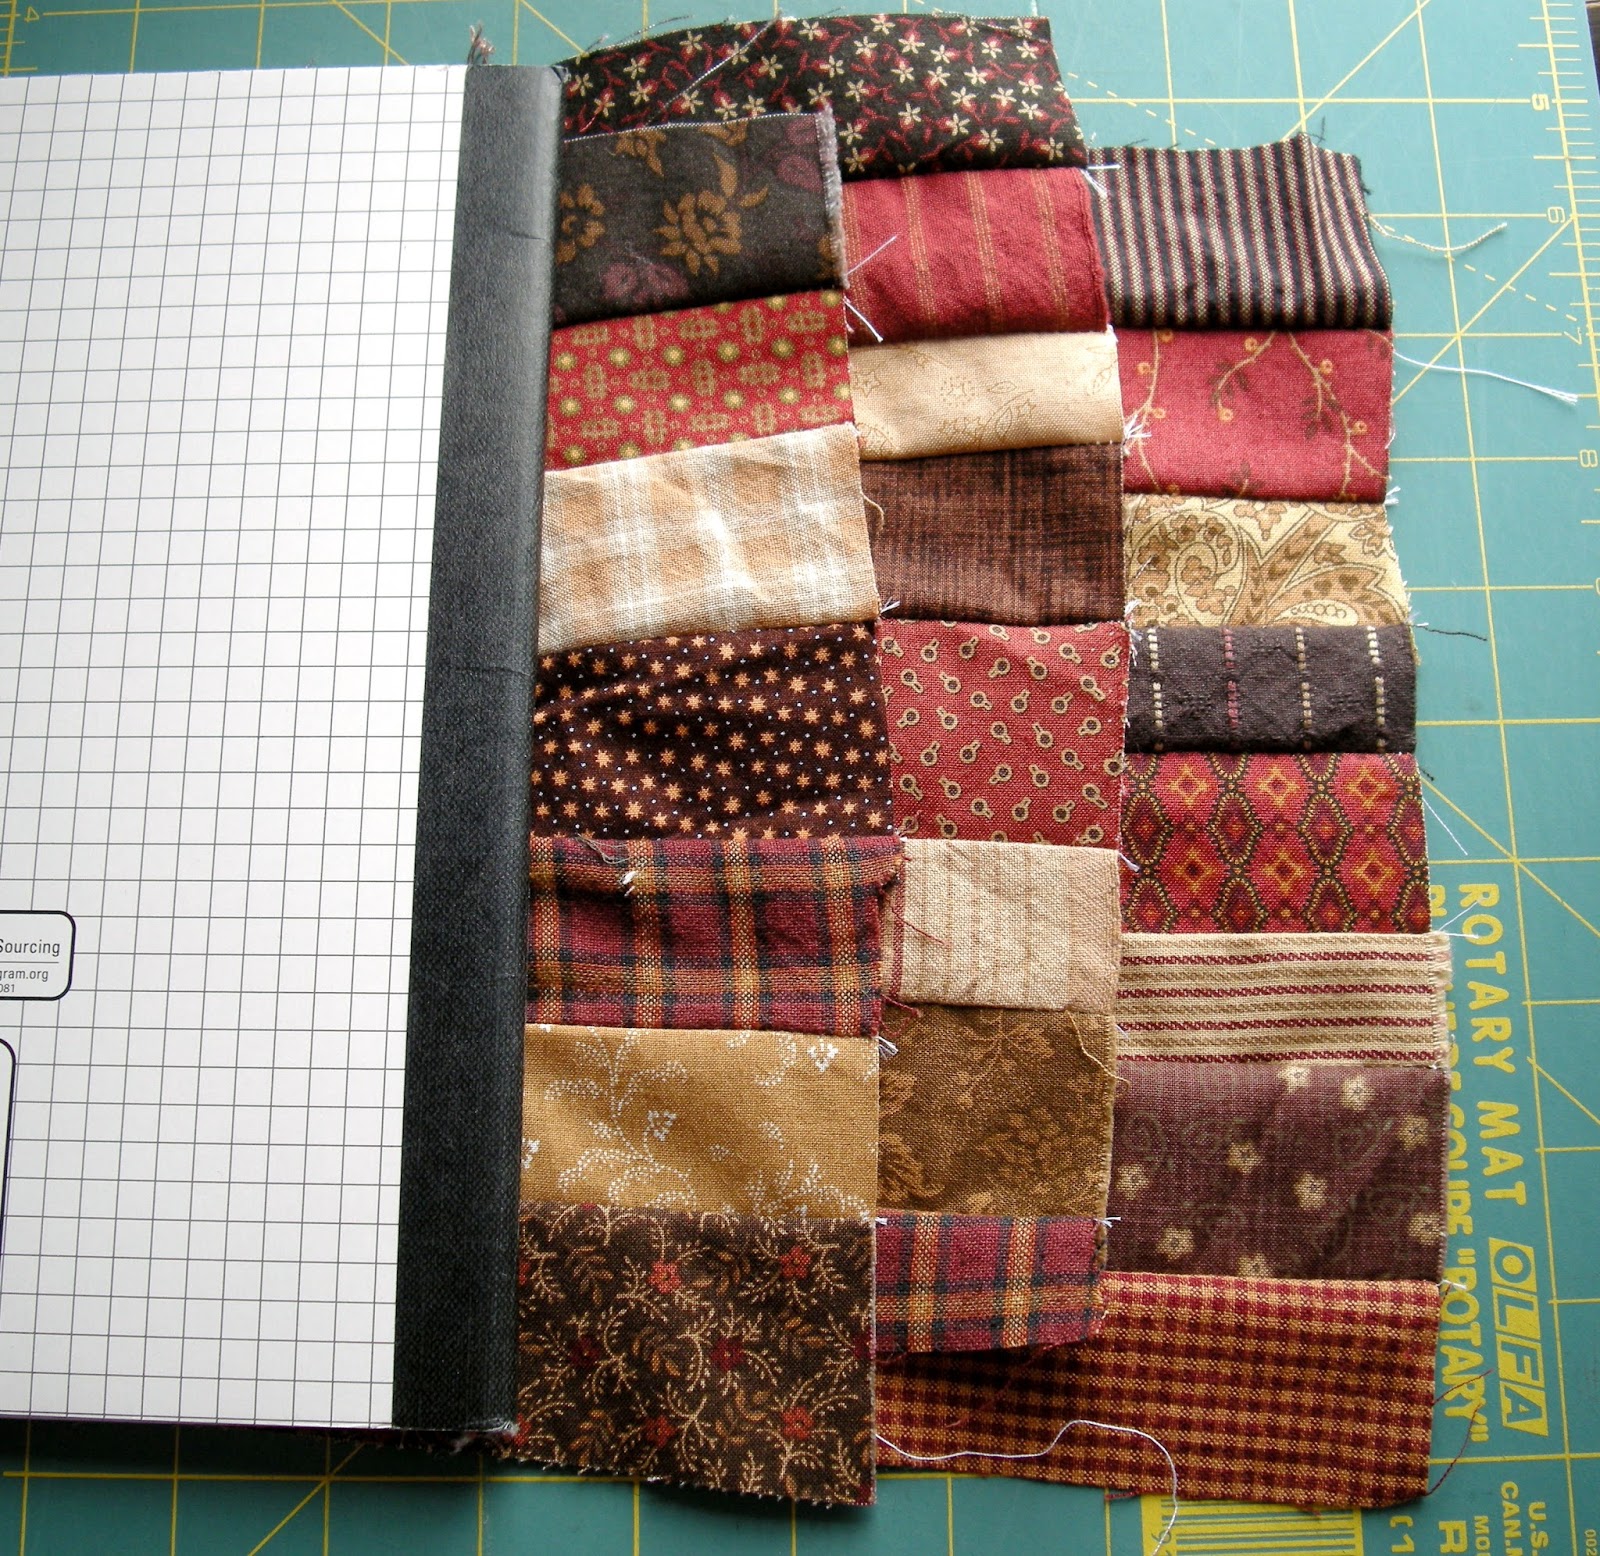
So then, onto the other AHIQ project: the coins. This is something I had drawn up months ago, but could never quite nail down the details of how to get started. When
Ann presented the first coin challenge, I thought 'of course!'. In this particular project, I wanted something a little different for my 6"x8" sashing strips--more than just the traditional one-fabric thing. I dithered around for awhile over whether or not it fit in with a true 'coin' idea, but then became convinced that it was okay.
I have several older quilts made out of these same black/brown/gold/red tones, something I used to buy a lot of. It's really been a puzzler to me how to use some of these older fabrics up now that my tastes have changed so very much. Using them as the base of a quilt {here in these fun coin sections} seemed like the perfect solution. After that was finished, it took me almost no time at all to applique the largest piece of my proposed secondary blocks. And that's where I could finally get things up on the wall for a proper look-see.
 |
| First Coins audition |
Is that
secondary block thing timely or what? hehe But of course, no matter how much I thought this idea would look wonderful in my own imagination, the reality is oft times different. Queue the disappointment. The blue plumes idea is just a bit too fussy. In the pic below, I took off the extra three circles from under the applique piece and stuck one little circle over the top of several others {will not be able to have plumes on the topmost applique blocks so am looking for a solution there as well}.
 |
| Playing with some details |
It's all just a bit too blah. So disappointing as I was envisioning something
serene with an element of
cozy, not straight up
boring.*sigh A bit of contrast color might be needed? This madder red print has an energy in the print without being too shockingly different and it definitely pops. I kinda like that.
 |
| Trying to find a spark |
And I like this bit of red/cream plaid added as well. It has a folky charm that is always appealing to me. But believe it or not, I
never, ever intended for these shapes to present as 'hearts'. It's almost too much!
 |
| Veering off in a different direction |
Those heart shapes were supposed to be part of a much larger picture! I decided to take the additional applique thing onto the blue heart blocks one step further, by adding a green leaf. So primitive and country, which I do like, but well, I finally found my limit. Absolutely a NO. Just too cutesy for words. And so now I find myself questioning every bit of it. Time to strip everything down and start over from scratch. Maybe even let things simmer out of sight for a few days.
 |
| And finally deciding enough is enough. Time to start over! |
The thing is, I have to make a decision about the applique before I actually sew rows together. Any overlap applique sewing becomes very complicated the larger the sewing surface. If the quilt top can be sewn into say, three sections, then it will be much easier to manhandle while I'm doing the applique work! Yep. It's a real conundrum at this point. So glad I sewed the coin sets together though as that's the part I still find very interesting. There is a deep fondness within for make-do piecing that I'm actively trying to find ways to incorporate into new quilting projects. It's a challenge. We'll see what another month of play can produce!
Linking up with:
- Kaja and Ann for AHIQ #20
- and also Linda for Snip, Stitch, Snap and Share because the timing is just too perfect!