Showing posts with label Quilty Folk hand quilting with Perle Cotton basics. Show all posts

Friday, October 14, 2022

Quilty Folk Hand Quilting With Perle Cotton Basics--Part #4 An Enthusiast's Guide To Uncomplicated Stitching Design

So this is the last post in the series, unless there's reason to provide more information later on. Several people have previously asked questions about how one goes about deciding on the quilt stitching design. It generally doesn't have to be something to overly stress about and in fact, the more that you do, the more intuitive it can seem. In an effort to make cheerful, comfy looking quilts, you'll notice that I tend toward stitching quite simple designs. This is on purpose. The look is inspired by some of the most humble quilts ever made, and yet it's exactly what I have striven for {and nurtured} through all my years of hand quilting. 

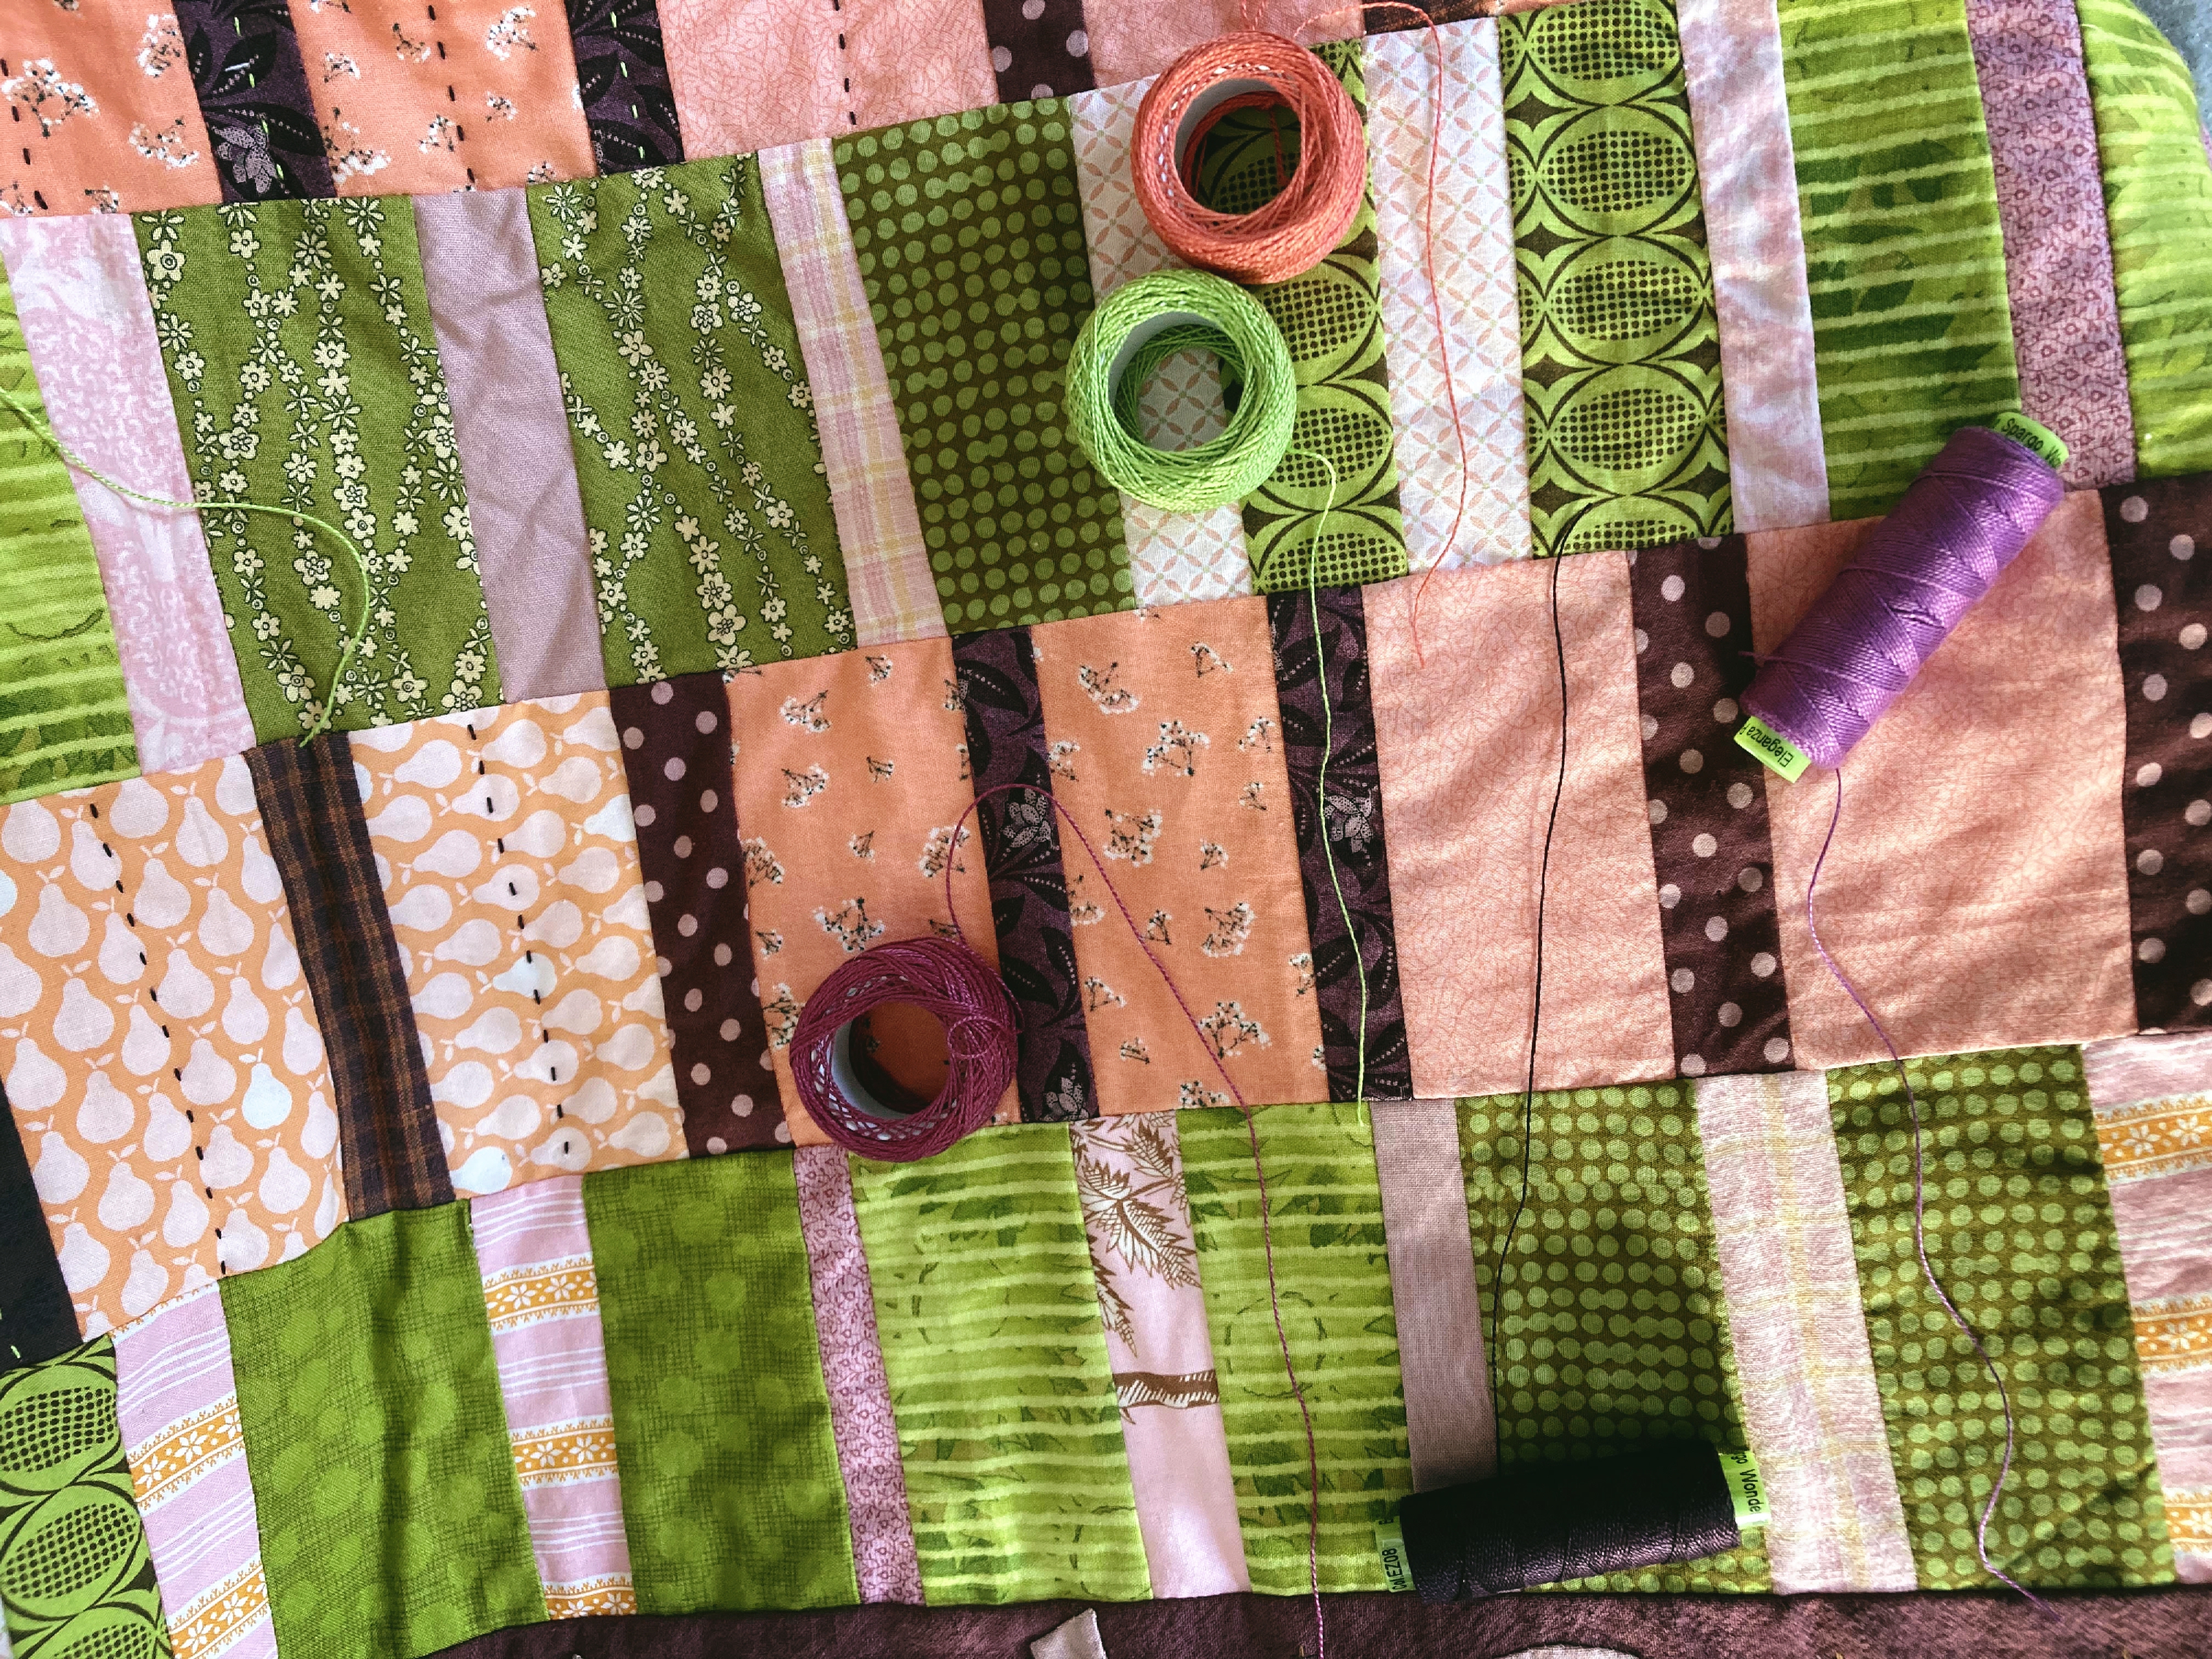
Improv. Strips #2

How to achieve a cozy looking quilt that doesn't look the least bit sloppy or uncaring? This is the question that has driven me crazy since I first started to take quilting seriously. Well, one of the easiest ways this can happen, of course, is to have a good base to play with. Obviously it won't do to make a complex Baltimore Beauty quilt, do some plain stitching and then expect to have that stitching well received! Plan on starting with a quilt top that isn't already screaming for something really complex in terms of the quilting motif.

Then, you basically let the quilt steer your stitching path. I know. Easier said than done. Words to describe this relaxed style of quilting might be: basic, simple, naïve, uncomplicated, and/or utilitarian. Don't overthink things and do try to start in a spot where there's a clear direction forward. Is there set of blocks where you can do some echo quilting, just to the inside of a seam allowance? An applique element that could use some outline stitching? Following is a list of potential options for producing simplicity in stitching design and look. You definitely don't need to get overly fussy to end up with something beautiful!

  • Echo Stitching--Stitch approximately 1/4"or less from edge of seam. For background texture, keep repeating at similar distances {usually 1-2"} from original stitch line until entire area is filled in. Helpful to freestyle mark subsequent lines in areas where the stitching lines extend beyond the hoop.
  • Outline Stitching over top of applique--Stitch approximately 1/4" or so from edge, over the top of the applique itself.
  • X Across Squares--Stitch diagonally in each direction across squares, cornerstones etc.
  • Straight Lines--Stitch straight lines through the approximate center of rectangles in log cabin or improv. type units, etc. For sashing, stitch down the entire length of each sashing strip, making 90 degree turn at corners.
  • Double Lines--Stitch straight lines approximately 1/4" or more {equidistant} on either side of marked {but not stitched} center line in unit or length of sashing.
  • Triple Lines-Stitch straight line in center of unit or sashing. Then, stitch equidistant from left and right sides. These lines generally measure between 1/4" to 1/2" apart but feel free to do what looks best.
  • Flying Geese--Stitch flying geese units in rectangle shaped areas, sashing or border. Can make paper or plastic template to mark shapes or freestyle mark for more of a human touch.
The following designs take a bit more effort, but are not nearly as complicated as you might suppose. 
  • Crosshatch Stitching--Stitch a simple grid pattern over entire area of quilt or in the sashing area, or over the top of blocks, especially plain ones. Can also easily stitch crosshatching over the top of large applique elements. Clear quilting rulers are very helpful when marking the grid.
  • Applique Element Imitates--Use a plastic or paper {cutout} shape copying an applique element sewn onto the quilt. Trace around edges of template, marking the shape onto the quilt for stitching. Stitch repeats of this shape in border areas etc. Can also mark these completely freehand for more of a carefree appearance.
  • Baptist Fan--Stitch an allover design of repeated curves, generally used to cover complete quilt area, but can also be successfully used just for borders and other areas. Here is an older tutorial for making the orderly-look fans. Or you can make freehand fans if that's the look you prefer.
  • Hills--An allover stitching design of repeated hills, generally used to cover complete quilt area, but can also be used in borders and other areas. Make a cardboard or plastic template of one largish hill {usually 10-12" or taller}. Starting at the bottom of the quilt, mark the outside of the hills over the complete area of the quilt, being careful to offset hills at approximately the halfway point. Mark repeat rows, one on top of the other. Stitch consecutively smaller hills inside each of the larger hills in an echo stitching manner, freehand marking if you like.
  • Clamshells--An allover stitching design of repeat clamshells, generally used to cover complete quilt but also be used in borders and other areas. Make a cardboard or plastic template of 4-5 {upper half only} clamshells in a straight line. Starting at the bottom of the quilt, mark outside of template over quilt top in one row after another, offsetting the 'shells'.

Seedpod
The Seedpod quilt has echo stitching around all the applique. Larger spaced {repeat} echo stitching lines fill in the background of the applique, all in a loose diamond shape. There is echo stitching in the centerpiece border area and also inside the economy square blocks. Straight line stitching anchors the block spacer strips.
Log Cabin
This log cabin quilt has straight line stitching in every log and X Across Square stitching in every corner starting square. There is double line stitching in the sashing length and also the cream 'spacer' strips.

Love Apples
This Love Apple quilt has freehand Baptist Fan stitching over the entire quilt.

AHIQFlowers
This improv. AHIQFlowers quilt has straight line stitching, double and triple stitching, repeat echo stitching, X Across the Squares, and also some cross-hatching in certain areas. 

Rising Sun
The Rising Sun quilt was machine stitched-in-the-ditch along the sashing and at the outside of every block. There is outline stitching over the top of the Rising Sun block applique and also the berries and leaves. There is echo stitching just to the inside of the center squares, crosshatch stitching in the sashing lengths and also over the top of the largest applique. There is largely spaced echo quilting in the outside, lighter areas of each block.

Bullseye Medallion
The Bullseye Medallion has outline stitching in the appliqued centerpiece and anywhere else there might be applique. There is also straight line stitching at the center of the red applique element. Largely spaced echo stitching fill in the gold background of the centerpiece area. Each subsequent border has a different quilting motif, from freehand flying geese, crosshatching, circles inside of crosshatching, and repeat applique imitates.

Tidbits
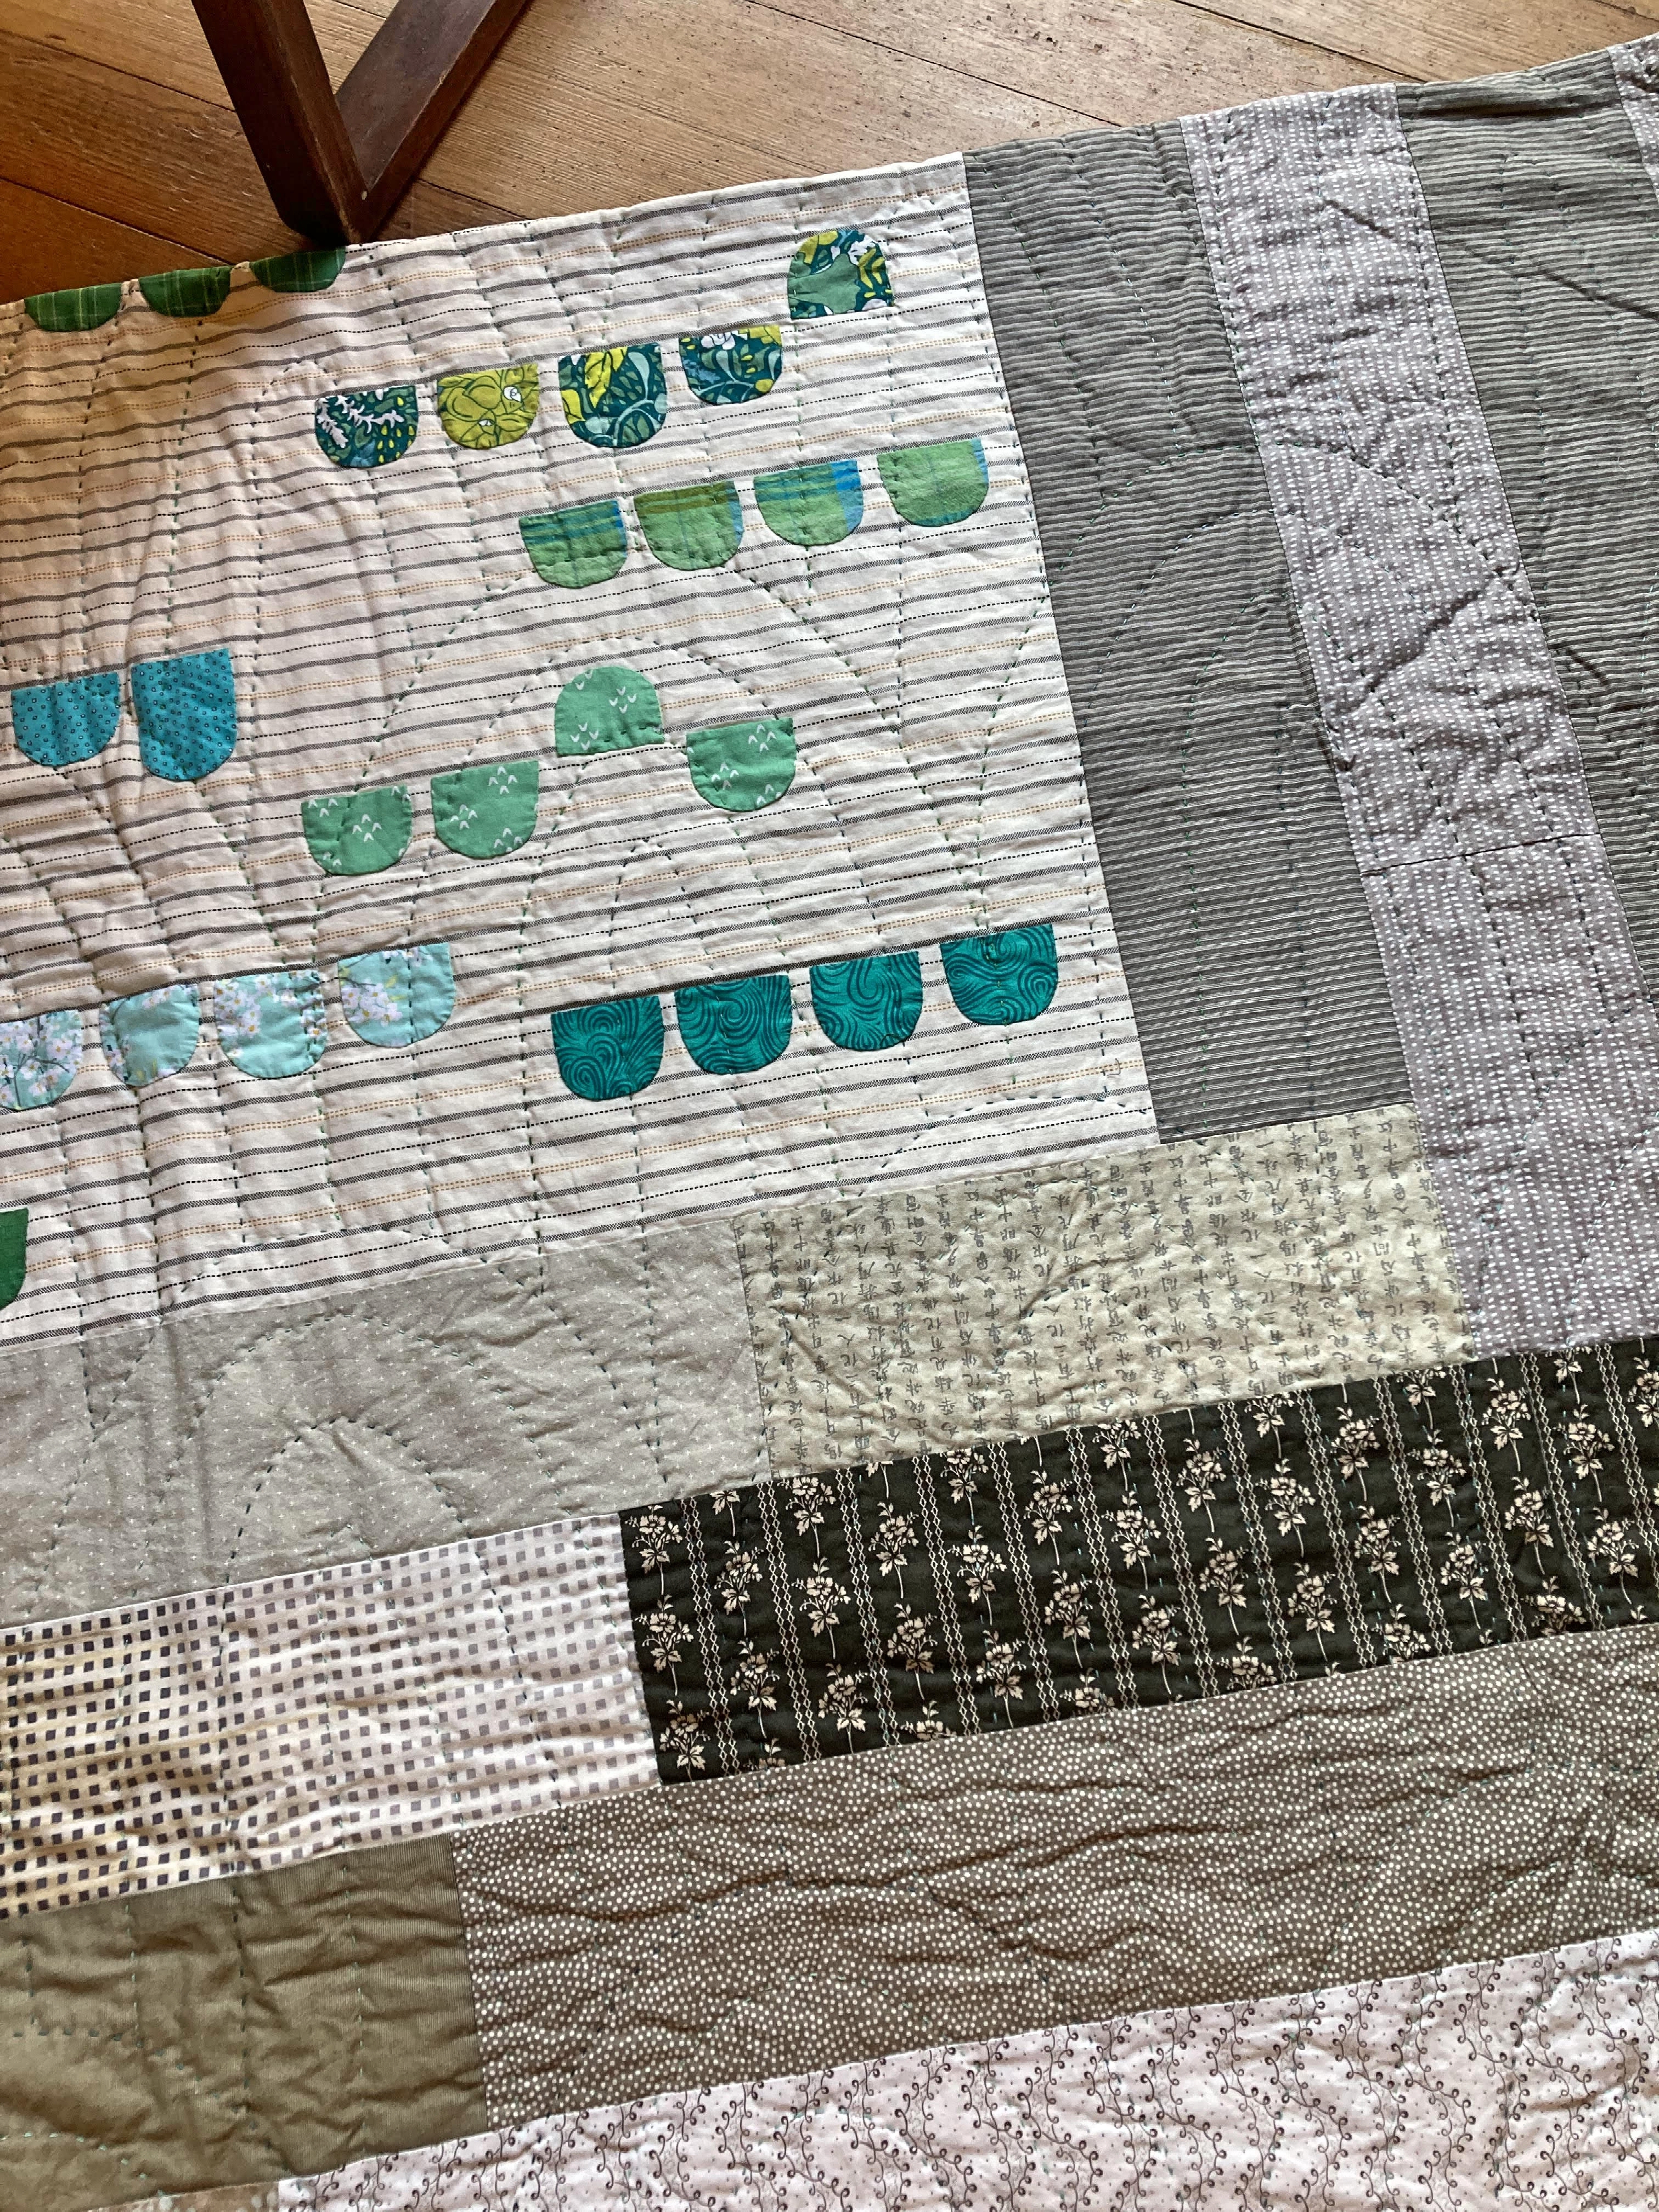
Tidbits quilt has an overall Hills quilting design. Largely spaced echo quilting makes up the freestyle smaller hills inside of the larger hills.

Antique Crows
This Antique Crows quilt was machine stitched-in-the-ditch around all of the blocks. It has outline stitching on most all of the applique with largely spaced echo stitching on the inside of the sunburst center. Straight line stitching takes care of the sashing and X Across Squares all the cornerstones. There is very largely spaced {repeat} straight line stitching inside of the border areas--at the shortest measurement of the border instead of along the length.

Chunky Tulips
Chunky Tulips was machine stitched-in-the-ditch along the edge of every sashing piece. There is echo stitching to the inside of the coping strips in each block. There is outline stitching on all the tulip applique and echo quilting at the largest tip of the tulips. There is freehand 'extra' stitching inside of the tulips as well, not exactly echo stitching but something very similar. There is X Across Squares at the sashing cornerstones and loosely measured crosshatching in the sashing areas and outer setting triangles.

Sweet Tart
This Sweet Tart quilt was machine stitched-in-the-ditch around every single block and both sides of the centerpiece sashing surround. There is outline stitching on most of the applique plus a little extra in the large tulips and larger baskets. Lots of repeat echo stitching in the background of the larger tulips. There is echo stitching in the triangles around the smaller baskets and just to the inside of the background square where those baskets reside. There is also echo stitching at the striped center of the 'every-other' blocks and straight line stitching in those pink floral areas.

HaHa
The HaHa quilt has overall clamshell stitching over the top of the all the center applique areas. There is outline stitching on the HaHa applique itself, and echo quilting just inside of the gray blocks. There is largish crosshatching over all of the outside triangle pieced border areas.

The Quilty Folk lady with the ridiculous video set-up!
For the most part, I find that loosely spaced quilting gives off a cozier vibe than dense and tightly filled areas of stitching. After all, there needs to be plenty of space for that lovely crumpled affect to happen after washing and drying! In the case of the HaHa quilt, you'll notice that I only echo stitched inside of every other gray background block, not both, as those stitches would be unnecessarily close to each other. I  mean, you can stitch there if you like, but you definitely don't have to.

These are just a few ideas {and quilts} to demonstrate ways to involve basic quilting designs. There are endless solutions depending on your specific quilt sandwich and of course, your particular likes and dislikes. The main thing is, there are no rules. Go check out antique, utilitarian quilts for inspiration! Look closely at how the stitching is happening in all of the quilts that you fall in love with!

Everywhere possible, try to 'eyeball' stitching lines and do without marking in your own efforts. Try to embrace the affect of 'the human touch'. Stitches will be slightly different length here and there, possibly even angling off on the random stitch. Straight lines will undoubtedly look organic instead of being perfect little soldiers. Try not to rip them all out! Believe it or not, this is adding charm to your quilt. A little added sweetness. Some of the X's at the cornerstones might even look a little wobbly, and if you can, just smile and wave at the doubters. Quilting with perle cotton accentuates the texture so very quickly, you'll be surprised at how much your imperfect stitching seems to practically disappear!

When you find your quilting rhythm, you'll also be discovering your quilting 'voice'. That is a very special thing. The beauty of hand quilting, is how easily it lends itself to celebrating and illuminating our humanity. None of us are perfect beings. Why would we expect our quilts to be any different? Hand quilting in it's plainest form invariably embeds a bit of sentimentality into the very fibers of the whole, making it practically impossible for the quilt to end up looking too stiff or formal for use. People tend to respond to this unpretentiousness open-heartedly.

If you find yourself without any idea of how to start hand quilting a specific quilt? Get your quilt sandwich into the hoop and load up a thread color that looks agreeable. Then, start stitching something. ANYTHING! Don't like it? Rip it out and start over with a different take. Eventually something will speak to you so that you can quit waffling around and get down to business. With overall designs, I have to say things never tend to look good right at first. At least not to me! I have to give it at least two or three rows before I'm convinced that the right path has been taken. 

Wishing everyone the very best luck in their quilting adventures! Hopefully this series has been a help to some of the fledging hand quilters out there. Honestly, it has taken an enormous amount of my quilting time, but I can't be unhappy about that. You wouldn't believe all of the questions I didn't have proper answers to when first starting to hand quilt!*sigh


Thursday, October 13, 2022

Quilty Folk Hand Quilting With Perle Cotton Basics--Part #3 An Enthusiast's Guide to Choosing Thread Color

Hand quilting beginners often ask about appropriate thread colors for their projects. How do you know which colors to use or not to use? As always, I defer to the default of doing whatever looks best to YOU. Because that's really the very best barometer for ending up with a finish that you'll love and appreciate. It doesn't matter what I think if you don't end up liking the results! For the purposes of this series though, I will try to explain the 'Quilty Folk' look.

I gain much inspiration by way of viewing antique quilts, but to my surprise, quickly found that hand quilting with only traditional cream thread, became quite boring in terms of 'doing'. My philosophy in choosing thread color is quite simple. I want it to bring joy. It shouldn't overshadow the quilt in any way, but simply provide just another bit of soft, sweet interest. Hand quilting with perle cotton thread can be very addictive if you love chunky thread stitching. Why not make it even better by taking advantage of all the beautiful colors of thread available?

Auditioning thread colors for the Improv. Strips Quilt #1
If I'm going to put in the time and effort of hand quilting, then I unquestionably intend for the stitches to show up. Right? Not compete with the quilt design in any way, but accent and complement. First, I like to to start with the obvious-- thread colors that match the various colors in the quilt. Sometimes it helps to audition them by laying a long thread across a specific area where it will potentially end up. 

Sometimes you won't use all of the colors you've initially chosen. I tend to use between 4-6 thread colors {maybe 8 or more if it's complex} in every quilt. In the quilt above, I never could find a good spot for two of the threads, no matter how pretty they seemed to look in theory. And that's okay. If the quilt doesn't want them, then I definitely won't want to force anything.

Possible thread colors for the 4-Block Tulip Medallion
When I choose a specific thread color for a certain area in a quilt, then you can be sure that I'll use it consistently throughout the whole quilt. If the red thread is meant to outline the triangles in the basket elements of the quilt, then it's going to have to work for every one of those triangles. Rarely do I make individual {custom} choices as to thread, for similar spots. It's just too confusing when it comes to doing the actual stitching. Plus, I love the continuity of the same thread colors popping throughout the quilt. It's a less chaotic look overall and so much more soothing to the eye when it doesn't have to jump around trying to figure out what is going on here or there. If my triangles range from very light to very dark fabrics, then I might, possibly? use two shades of the same color of thread, but only if a single best color remains super elusive. Usually there is something that will end up being a good compromise!

The best way to know if a color of thread is right for the quilt is to just get started stitching. It's pretty obvious within that 17" x 17" frame whether or not a thread color is looking 'flat' or if it is subtlety improving the look of the entire quilt. You just know. And yes, it's annoying to spend an evening basically auditioning thread in your hoop over and over for an hour or so. After it's all figured out though, the rest of the stitching should be a breeze! If a thread is not being good humored about being included in your precious quilt, now is the time to rip it out and try a new color! If it kind of shines and makes you feel happy, then leave it--you've found the perfect spot for that specific thread. 

An interesting thing about thread is how it reflects back depending on where it's placed on the quilt. Some threads will look wonderful in one area of a quilt and fairly bland in another spot. Try a darker, lighter or brighter shade in the other spot. You'll also find that the lightest colors in every color thread almost always look 'white-ish' after being stitched, but much, much softer. Same principle with the darkest colors of thread in each colorway. They will look 'black-ish' yet not nearly as stark. This is a very nuanced step to take, but so much fun when it works out well! Anything that causes even a subtle 'jarring' in my quilts is a big 'no thank you'! In most cases, you can easily find the extreme {as to making the perfect accent stitch} without ever resorting to true white or solid black and it doesn't take any extra time either.
Red perle cotton
Here's a little bit about every color that might possibly be used as thread color in my quilts. I've listed many of the favorites below for those specifically interested in those details.

A lot of quilts welcome a pop of red colored thread. The rosy red ones are absolutely delectable! And don't even get me started on the variegated red Valdani threads....
  • DMC #321--classic red 
  • Valdani #534--variegated tomato red and med. brown
  • DMC #309 and/or All brands--any shade of cherry red 
  • All brands--any shade of coral red
  • Valdani #775--dark rose or turkey red
  • Valdani #O523--variegated dark cherry red
Pink perle cotton
Oh pink threads, you have won my heart. I want ALL the shades. If you have applique flowers in quilts, you'll probably love seeing a bit of pink thread here and there!
  • Finca--any shade of salmon pink. They call them mauve, geranium and cyclamen
  • All brands--any shade of bubblegum pink, from lightest to darkest
  • DMC #754--shell pink
  • Valdani #M14 or Perle Iris brand {no number}--variegated hot pink to lighter pink 
  • Valdani #JP5--variegated light rose
Green perle cotton
Mostly I just want a rich pop of color to accent appliqued leaves etc. Don't even worry about matching, just buy the bold green shades that catch your eye! I do get in trouble buying the lighter sour green shades. They are so intriguing, but in the end, I generally prefer using a tan or cream variegated color instead.
  • All brands--any med. shade of lime green
  • All brands--any shade of grass green
  • All brands--med. to dark shades of emerald green
  • All brands--any shade of teal green, from lightest to darkest
  • Valdani #JP12--variegated light sea green 
  • Valdani #548--variegated dark moss green
Brown, gold, orange and mustard perle cotton
I simply can't keep enough mustard or dark brown thread on hand. Probably just need to start buying in bulk! The darker mustard shade gets used up especially fast. I don't use a lot of medium brown thread unless it is rust or bronze colored or mixed with the darkest of browns. Not a lot of orange, but if it's necessary, I much prefer more mellow shades.
  • Finca #8072--Dark topaz which is a strong, darker mustard color
  • All brands--any shade of mustard
  • All brands--any of the darkest shades of brown
  • Valdani #P11--variegated brown to black
  • Valdani #P12--variegated med brown to dark brown
  • Sue Spargo Eleganz #EZ08--deep purple brown
  • Valdani #67--light rusty orange
  • Finca #1485--cantaloupe
  • Valdani #JP7--light orange to gold
Purple perle cotton

I use a lots and lots of violet. So much prettier than true purple! The lightest and darkest colors get used up really fast.
  • Valdani #P8--variegated violet rose
  • Valdani #P10--antique violet
  • Valdani #PT13--dark violet with hints of blue {my absolute fave, swoon!}
  • All brands--any shades of lavender
  • Valdani #M2--variegated rose to dark violet
  • All brands--any shade of violet
Black and gray perle cotton
Just plan on keeping some black thread on hand. It's hard to buy the black and brown shades when you love color as much as I do, but there's some beautiful perle cotton in every color! I much, much prefer the softer blacks than the stark black threads that are so much easier to find.
  • Valdani #H211--variegated blue black
  • Valdani #O511--dark charcoal
  • Valdani #O548--variegated black to khaki
  • Valdani #O501--variegated black to dark brown
  • All brands--any shade of gray from lightest to darkest
  • Valdani #O538--variegated gray to cream

Blue perle cotton
I don't even know how people quilt without blue thread, especially turquoise. The color I probably use the least is royal blue. All the lighter variegated blues are just a fun pick when white or cream refuses to act happy in a quilt. 
  • All brands--any shade of turquoise. I use every single shade over and over again.
  • All brands--lightest of blues
  • DMC #823--classic dark navy
  • Valdani #O515--deep blue
  • All brands--any shade of navy
  • All brands--any shade of Caribbean blue

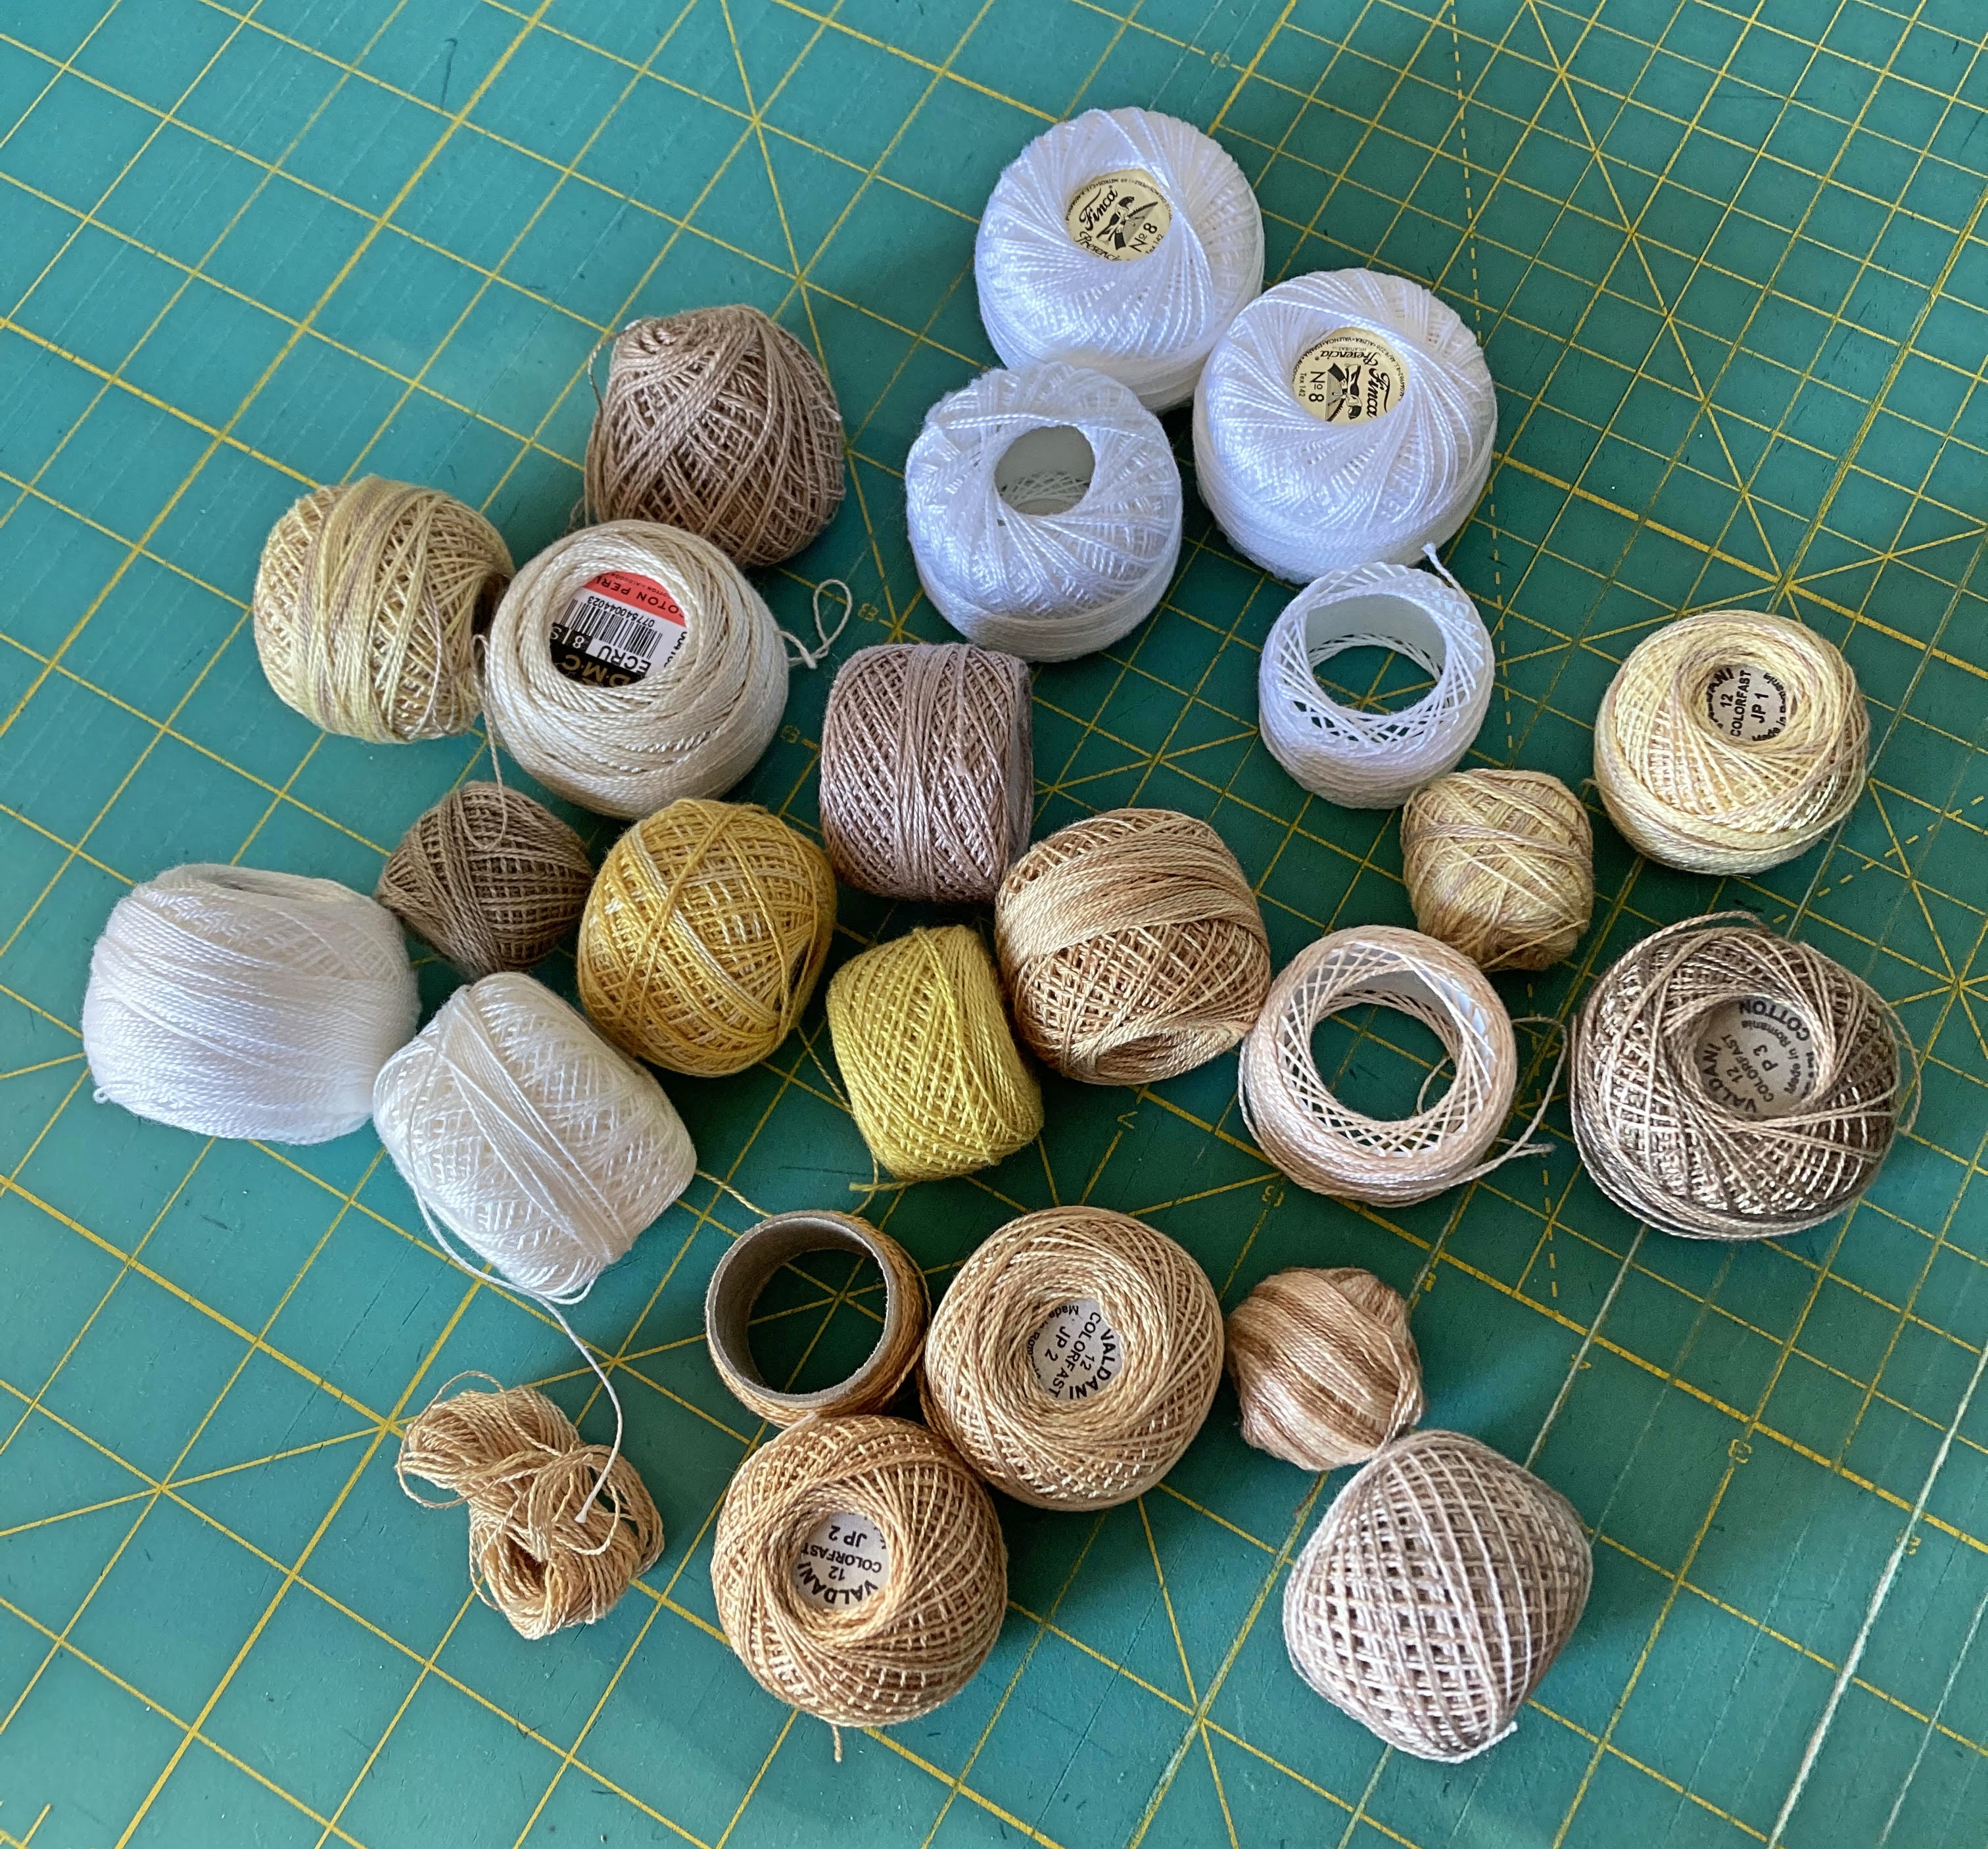
Light neutral perle cotton
I didn't realize how decimated my stock of cream, light tan and soft gold threads was! The last couple years I've been plowing through the thread and rarely buying new. Though I use colored thread every chance I get, invariably there's a spot in many quilts where a light neutral is the only thing that looks right. I admit to completely crushing on the variegated threads and tend to ignore the solid cream and tan threads.
  • Any brand--soft white
  • Valdani #P4--aged white
  • Valdani #11--soft gold
  • Valdani #JP4--variegated ivory, lightest tan and light gray
  • Valdani #M14--variegated soft white to light cream
  • Valdani #514--variegated cream to soft gold
  • Valdani #O576--variegated gold, yellow, tan
Thread color should be a delicious little addition to the quilt, an extra detail that helps to bring the quilt up to the next level. That being said, if you run out of a certain color of thread, go ahead and substitute the next closest thing you have available. Only the pickiest of observers will ever even notice the difference!

When in doubt, use mustard. Not working? How about a  a dark brown color of thread, a soft white, or perhaps a cream to gold variegated thread? These specific shades tend to transcend the complexity of any quilt and give it a soft, ageless quality. If nothing seems to be working, try colors that aren't even in the quilt. Yes, really. Once in awhile, the answer is the absolute unexpected.

You'll notice that I include a lot of variegated threads in the lists of favorite colors. Don't be scared of them! They work really hard in areas of echo quilting and allover stitching. Sometimes you just want certain areas to not 'pop' quite as much as other areas, but they still need something that won't be completely lost to the eye. Variegated threads can also give the stitching a wonderful sense of surprise as they constantly change in color, intensifying and/or fading away. 

While I adore the Kantha style of stitching, for the most part I want the stitching to be an added layer. I'd rather people see the quilt first, then zero in on little details that make up the whole. Using Perle Cotton #8 or #12 thread is a absolutely a great way to quickly intensify the texture in a quilt. Using good, strong and/or soft colored threads in all the appropriate places, makes that texture extra sweet. It adds charms and helps level up the cozy factor. As you gain experience in hand quilting with perle cotton, it will be easier and easier to recognize the specific colors and shades of thread that make you happy. 

Part #4, 'Quilting Design and The Cozy Look' will hopefully be ready in a couple days and then we can get back to regular posting!

Thursday, October 6, 2022

Quilty Folk Hand Quilting With Perle Cotton Basics--Part #2 An Enthusiast's Guide to Placing/Moving the Hoop

Getting started with placing the first frame is generally quite easy to figure out. Just find a spot in the middle-ish of the sandwiched quilt and get your hoop situated. You can try to be strategic and eyeball the entire width of the quilt for rough measurements. Can you quilt the entire width of the quilt using only six frames across? If you move the hoop one way or the other a few inches, does that make it so that you'll only have to move the frame four more times across instead of five? If you have an individual block layout then you'll probably be more interested in placing the hoop centered over each block. Perhaps catching part of the sashing inside that same hoop? Just take a few minutes and consider what might save you time as you're quilting along. 

1st hoop
Placement of the first hoop:  I talked about this a little in Part #1, but we'll revisit for a minute or two. Get the main part of the frame underneath the quilt sandwich. Make sure there are zero wrinkles on the underneath side, and THEN take the pins out of the areas where the clamps go. Also take out any pins on the outside area of the clamps where they might be stressed from the action of the hoop pulling fabric into its orbit. Now put the clamps on. Next, take out all of the pins on the inside of the frame. Okay, now would be a good time to fiddle with the tension inside the hoop. You need slack {or sag} but not so much that you end up with a bowl in the middle of the frame. How much? It's definitely unique to each person, so practice and experience is the best teacher. 

You'll know it's too much slack when your needle won't slide immediately into the quilt sandwich. It wants to get bogged down and you'll have to work at getting the fabric into place for the needle. You'll also know when there isn't enough slack. The needle will feel very stiff sliding into the fabric and it's going to take a lot more effort overall to make your stitches. You'll definitely feel the resistance. This is especially true if you want to load more than one stitch at a time. So go ahead an be a 'Goldilocks'. Getting it just right makes a world of difference in how fast you can stitch and how much fun you'll have doing it!

Did you notice {in the above picture} the slightly wrinkled area on the bottom left inside my frame? You can roll the bottom clamp toward the outside of the hoop, tightening up that area, OR you could take that bottom clamp completely off and simply readjust the placement. These are things that you'll constantly have to do as you move your hoop around the quilt sandwich.

 Potential 2nd hoop
Placement of each subsequent hoop: After you have your first frame stitched, then it's time to move the hoop. Ideally, you'll move to one of four spots--directly to the top, the bottom, or directly to the left or right of the previously stitched quilt sandwich. Take the clamps off that newly stitched frame and then simply slide the frame underneath the quilt to the new area. You can do this while the quilt is on your lap or resting in a flat position on the couch, floor or on a table. Make sure to overlap slightly, the previously stitched area with where the new to-be-stitched spot will be.  

The picture above shows a potential 2nd hoop position. {The pins have not been taken out yet or the clamps attached.} When you have the quilt sandwich exactly where you want it, remove the outer pins as before and start placing the clamps. After attaching a single clamp, I often take my hand and lightly push down into the quilt at the center of the frame, thereby creating a better opportunity for slack. Put the remaining clamps on and proceed in the same manner as with the 1st hoop. If you have dangling threads, just make sure they end up inside the frame rather than be caught underneath the clamps.

 Quilty Folk hand quilting Part #3--
Stitching the 2nd hoop
The joy of using older clamps: Be gentle with the previously stitched area. Don't want to inadvertently pop stitches! If you have an older hoop, take one of your more stretched clamps and place it on that particular side. It's also great to use these older clamps for any sides where you might have applique. People think I'm crazy for continuing to use well worn and cracked clamps, but I'm telling you, it saves me oodles of damage to the applique. That is worth its weight in gold!

Stitching in rows
The picture above and the one below illustrate two different approaches to moving the hoop around the quilt. Both ensure that you are constantly moving the hoop in a manner that helps eliminate unsightly wrinkles at the back of the quilt. Obviously you would not want to place the hoop harem-scarum around the quilt sandwich or even kitty corner from finished frame to finished frame. Stitch in a seamless direction, very soldierly in your forward march from the very first hoop. Every time you position the quilt sandwich within the hoop, make sure that the back side is perfectly smooth again. I really can't emphasize this part enough. If you bumble around and quilt through and over a wrinkle in the center back of a quilt sandwich? That problem can {and probably will} multiply and cause you all kinds of grief later on! Just don't do it.

Stitching in a cross shape, filling in the corners
Border areas: Once you get to a border, then you will choose a spot in the middle-ish of that area and quilt one direction and then the other {left and right}. I almost always leave the corners of the quilt for the very last, but you can definitely quilt a corner area immediately after the adjacent borders are totally quilted. Up to you! 

Remember, when you are constantly {lightly} pushing the quilt backing one way and then the other, trying to ensure a smooth look overall, the border is where all of the fabric tends to start waving and wrinkling. If it is going to do so. It may not! Some fabrics seem to be much more prone to stretching than others, so never be super aggressive about stretching the backside of a quilt sandwich. Take a few moments before placing that initial hoop at the border. First, check to see if that area is truly smooth enough in the back--all the way across the quilt--to make for a good finish. Oftentimes you'll need to reposition a few pins at the outside of the quilt where extra fabric has bunched up against them. 

Also, go ahead and doublecheck the backing fabric at the corners of the quilt. Have you pushed the fabric too far in one direction or another? Now would be the time to sew on a smidgen of extra fabric to the backing if need be. Don't ask me how I know this!

Problems: Sometimes you find yourself with a problem border. The fabric is obviously way too wrinkled in the back to lay completely smooth across the entire length of the quilt. Before you freak out and throw the entire thing into the trash, just relax and take a deep breath. Most of the time you can simply position the first hoop somewhere in the middle part of the border, and then gently ease extra fabric into each subsequent frame. Try to do it strategically. As each frame takes part of the wrinkling, the effect is not nearly as obvious or sloppy looking as you first supposed.

Part of the charm of hand quilting is the 'crumpled' effect apparent after a new quilt is laundered and everything shrinks a bit. A little bit of fabric wrinkling {spread out over several feet} will mostly disappear once the quilt is freshly washed and dried. If a wrinkle is largely resistant to any smoothing efforts, then you have to make a choice. Go ahead and hand quilt over the top of it or take out a lot of previous stitching. In all my years of stitching, I've only ever had one major wrinkle that couldn't be manipulated enough to successfully camouflage. I quilted over it, washed the quilt and hardly ever thought about it again. You do you.

Stitching border areas
Stitching the overall pattern: When stitching an 'overall' pattern throughout the quilt, such as the Baptist Fan, the traditional way of starting off is to choose the lower, right hand corner for the very first hoop. From there, you would move the hoop over to the left, and on and on, until you stitch one row the complete width of the quilt. See picture below for example of frame placement. Next, you would start the 2nd row, over on the right side. Place the new hoop directly at the top of the 1st hoop placement {finished area} and proceed to the left from there. 

Whenever the new hoop area is being positioned, it's very important to make very sure that everything feels right at the back of the hoop. You can't just smooth the fabric to one side and say, 'Oh well, that's good'. Throughout this sort of quilting, the fabric will consistently be pushed upwards and outwards, always toward the top lefthand corner. Again, don't be aggressive, but be quite diligent checking for extra fabric starting to wrinkle up and causing problems. 

A reassuring thought--you can almost always feel a problem starting before you can actually see it. Always, always, always take the time to re-position your hoop if it's not right before stitching. And, once or twice during the overall quilting time, take the time to turn your quilt over, lay it completely flat and peruse the entire backside. For preventative measures. Your quilt will thank you! Is there an area where unstitched fabric seems to be bunching at the pins in an alarming way? Might be a good time to reposition some of the pins and stop a problem before it even starts.

Stitching an overall pattern across quilt
I have also seen where people quilt in rows around the entire outside of the quilt, slowly moving inward until they are left with only the center part of the quilt to stitch. This is not something that I have ever attempted, but I imagine you would want to pin your quilt very carefully before undertaking this particular method.

Quilty Folk hand quilting Part #4--
Being efficient with the hoop
Another question I get on occasion is why there is sometimes pictures here on the blog with only two or three clamps on my current hoop. If you go back and look at the 2nd picture, you'll see that there is an awful lot of dangling threads leftover from the previous stitching. When persistently stitching in one direction, it just seems to make sense to take that clamp off {the one in the way}.and go ahead and stitch out a little extra. I wouldn't advise this for brand new quilters, but if you're well accustomed and comfortable with using the hoop, then go ahead! It's a easy way to be economical with secure stitching areas.

Sometimes when quilting from side to side {and trying to squeeze all of the quilt width into a reduced amount of frames}, I'll even take both of the opposing side clamps off at the very same time. I know, I know, breaking all of the rules here.... It's definitely not a 'first hoop' thing to do, but happens more often when the bulk of the quilt is stitched down and not shifting as much. I did warn you. I most definitely have quirks!

This was supposed to be a short post, but clearly something went wrong. Part #3 and #4 will hopefully be posted sometime next week!

Wednesday, October 5, 2022

Quilty Folk Hand Quilting With Perle Cotton Basics--Part #1 An Enthusiast's Guide To Getting Started

This series is for all the people who have commented and/or sent emails through the years asking for a tutorial about hand quilting 'the Quilty Folk way'. In spite of all the general misgivings this has generated, I'm also sort of relieved to get this going. After reading through parts #1-4 and perhaps watching my extremely nonexpert videos, many people will begin to understand why this has always been a very bad idea, indeed. Hey, you get what you ask for. I'm just throwing all my hand quilting quirks out into the wind here and hoping it will help a few quilters along the way.

The first part pertains to what is necessary in getting started. A whole lot of gumption, let me tell you! There is absolutely a learning curve to hand quilting with perle cotton, not going to ignore or downplay that in any way. All totally worthwhile if you have a sincere love for the look though! Very cozy looking, how can you not love that? Obviously there are some other things needed too so let's get to that....

Tools of the trade
Tools & Supplies Needed:
  • 17" x 17" Square Plastic Quilting Frame. I use the 'Q-Snap' brand.
  • Thread Snips
  • Sturdy Leather Thimble. I prefer 'Elaine's' Leather Thimbles
  • Sturdy Needle with large eye. I use 'Fon's & Porter's' Utility Quilting Needles
  • Perle Cotton Thread--Any brand, #8 or #12
  • Quilt, sandwiched and loosely pinned
  • *Blue Wash Out Marking Pen. I mostly use Dritz
  • **White and Silver colored pencils for marking. I prefer Verithin
Ready for stitching
The first thing you'll want to do is make sure that your quilt is sandwiched and pinned, ready to go. With hand quilting, the quilt doesn't have to be pinned with an extravagant number of pins. Go ahead and zoom in if you like. There's just enough pins to make sure the entire sandwich doesn't shift while moving it around.
A potential placement for the 1st hoop
Place your first hoop in a strategic spot in the middle part of the quilt. No it doesn't have to be dead center. Just make sure that you can move afterward--to an area the size of one frame or so--on every side after that first hoop has been adequately quilted. When you decide where the optimum spot is, remove the outer pins that might get in the way of placing the hoop. Also take out adjacent pins that will be at a stress point when the clamps are positioned onto the hoop. Unlike the picture above {which is for auditioning for the best-spot-in-the-quilt purposes only}, your frame will be underneath the quilt sandwich. Then the clamps will be applied over the top of the quilt and directly over the frame edges.

Once you have determined that the quilt is positioned well in the hoop, and with a proper amount of slack, then take out all of the pins in the center of the hoop. You are now ready to begin stitching.

Quilty Folk hand quilting Part #1--Getting started

The video above is my awkward attempt to show how to get started hand quilting with perle cotton thread using a square plastic hoop. There are many other wonderful tutorials on the web that might expand further on your knowledge. Bear in mind that there is no single method that is perfectly correct or preferable, other than what you find more comfortable and enjoyable, both in concept and outcome.
Quilty Folk hand quilting Part #2--Tying off the thread

I talk a little bit about posture in the first video. Some of you will probably not want to sit with your legs crossed or with your knees up underneath you. Try pulling a low stool up close to your chair, and placing your feet on it, and thereby pushing your knees up. Or even one knee under you and one on the stool. It all helps. However it feels best to hold the hoop in a position to work underneath and over the top of it will work wonders in enjoying your stitching time. Push the quilt hoop into your chest or upper abdomen and use your elbow or arm as support. It's not something you'll want to do all day long, but for an hour or two a day, most of this is doable. 

If, after several sessions of practicing with a square hoop, it never becomes {mostly} comfortable or even satisfactory, please go find a different size or shape of hoop. I want to encourage trying A LOT because these plastic clamps work really well with quilting with the perle cotton style of thread. It is usually quite easy to change the tension of the quilt within the hoop by simply rolling the clamps toward the center of the hoop. This is especially true if the side clamps are not placed onto the quilt using an over zealously stretched placement. Make very sure there are zero wrinkles in the backside of the hoop! If there is, immediately take the clamps off and pull the quilt backing into a better position and replace the clamps before stitching.

Stitching with perle cotton thread means that a larger needle is necessary than what would work well with regular hand quilting thread. There is a larger eye needed after all. Using this longer, quite sturdy needle means it will be extra important to add slack within the hoop in order to easily glide the needle through all of the quilt layers. If the quilt is unnecessarily tight within the hoop, you will instantly notice just how much harder it is to load stitches onto the needle and also, how much less consistent the length of your quilting stitches will be. Getting accustomed to this larger, fairly unwieldy needle is not a lot of fun. After awhile; however, you'll wonder how you could ever competently use the more traditional size of quilting needle!

Quilting with perle cotton thread lends itself very well to 'the human touch' or imperfection. Make your stitches just as long as looks good to you, making sure they are not so long that they become 'toenail catchers'! The important thing is to try and find a consistency in the length throughout. People have asked how far apart the stitches can be or should be? However far apart as looks fine and good to you. And that's really all that matters. Once again, consistency throughout would be the only measure of 'Am I doing this right?' Unless you're striving for a very primitive look. In that case, make the stitches as uneven as possible! Keep in mind that your stitches will change a bit from one stitching session to the next and how tired or energetic you might feel, whether or not you're having a good visit with someone while trying to quilt--that sort of thing. Try to keep more stitches in the hoop than you rip out or you'll never see real progress!
Checking out the stitching on the back of the quilt.
As you learn how to stitch, take a moment here or there to check out the stitching results on the back of your quilt. Be aware of transition areas where the needle might have slipped under the quilt sandwich instead of sliding between the layers. Watch out for lines of stitching where several stitches don't come all the way through. If the thread doesn't catch in the back, then the quilt sandwich isn't going to hold up to use when it's finished.

Sometimes you'll see a very long stitch on the back that makes you wince. If it's way too long, you'll have to fix it. For me, that often happens at the very end when I'm in a hurry, tying the thread off and trying to wrap things up for the night. If you haven't tied off your thread, go ahead and rip out the stitches back to that long, ugly stitch, and then, start over. If you have already tied off the thread and moved on {poor you}, you'll probably have to cut off the thread somewhere a ways out from the mistake--try to leave a length of thread to easily tie off somewhere convenient. Then, load a new length of thread and re-stitch that problem area once again. It's actually almost impossible to fix these sorts of mistakes solely using the initial thread used. 

I still make a regular practice of turning the entire quilt over to check for stitching 'oops'--usually at the end of a evenings quilting session. I lay the quilt on the floor {while the hoop is still attached} and look at the overall stitching on the front. Then I turn it over and survey the back. Stitching good? Check! No wrinkles? Check!

For most people, it will take a very long time and lots of practice before the back of the quilt looks nearly as good as the front. That's just a fact, so don't be discouraged! Be gentle with yourself and enjoy how the stitches look on the front of the quilt. Try using multi-colored, quilt backing fabrics that hide a multitude of sins if you're going to be picky about uneven stitches in the back. It really does help camouflage things! Be watchful when stitching close to the sides of the quilt hoop. That seems to be a great place for extra-long stitches on the back of the quilt to magically appear. Everything about this improves with practice and you'll be amazed at how the awkwardness eventually eases up. No matter what, be happy and quilt more!

Part #2 Moving the Hoop should be ready by tomorrow!